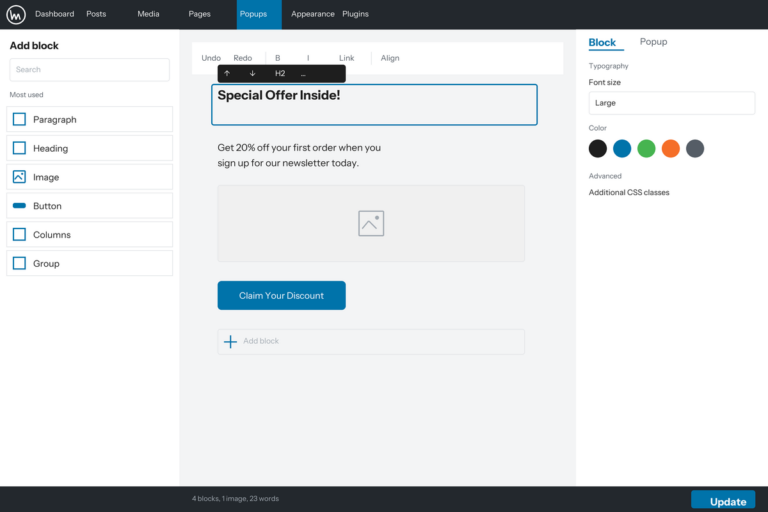
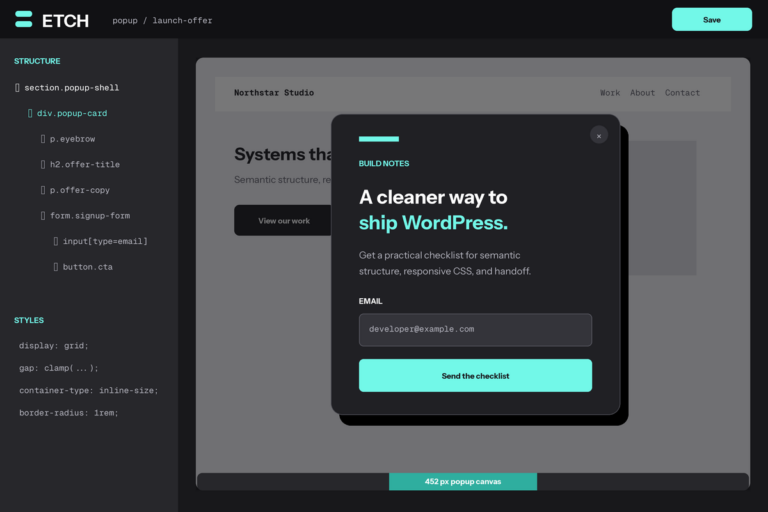
Ever wanted to create attention-grabbing popups with Bricks Builder? Popups are powerful tools for growing your subscriber list, highlighting special promotions, or capturing valuable leads – and you don’t need to pay for expensive plugins to make them work.
In this comprehensive guide, I’ll walk you through creating professional popups using Bricks Builder without spending a penny. You’ll discover how to leverage Bricks Builder’s flexible elements alongside a free popup plugin to design stunning, conversion-focused popups that match your website’s aesthetic perfectly.
The best part? You’ll have full access to all of Bricks’ powerful elements and styling options. Let’s get started!
Step 1: Get Popup Maker Installed
We’ll begin by setting up Popup Maker, a versatile free WordPress plugin that handles the popup functionality while letting Bricks Builder take care of the design.
Head to your WordPress admin dashboard. Click on “Add New Plugin” under Plugins link in sidebar to browse the plugin directory.

In the search field, type “Popup Maker” and press Enter to search the repository.

Locate Popup Maker in the results and click the “Install Now” button.

After installation completes, click “Activate” to enable the plugin on your site.

Step 2: Build Your First Popup
With Popup Maker active, it’s time to create your first popup. In your WordPress dashboard sidebar, look for the new Popup Maker menu item and select “Create Popup.”

You’ll arrive at the popup editor screen, where you can build and configure your popup’s appearance and behavior.

First, give your popup a descriptive name at the top of the page. Don’t worry – this name is only visible to you in the admin area, not to your site visitors.
Now for the exciting part – create a template in Bricks builder. Then, we can use the shortcode for that template in the content of the popup.
To create a template, navigate to Templates under Bricks menu link in the sidebar:

Click the Add New button:

Now, click the Edit with Bricks button:

Once Bricks loads, you can design your popup just like you would any other Bricks layout. Add any elements you want – text, buttons, forms, images, or even custom elements you’ve created.
Bricks Builder gives you access to its visual editor right away. Use the canvas to see exactly how your popup will look to visitors as you build it.

Now, all you need is this template’s shortcode. Navigate to Templates again and you’ll see the shortcode:

Click the shortcode to copy it, and then paste it in your Popup’s content:

Step 3: Configure Popup Triggers
A popup needs a trigger to determine when it should appear to visitors. Let’s set that up next.
Scroll down below the content area to find the “Popup Settings” section, then locate the “Triggers” tab:

Click the “Add Trigger” button to see the available trigger options.
Popup Maker provides numerous trigger types including Auto Open (shows after a time delay), Exit Intent (appears when users move to leave your site), Click Open (activates when visitors click a specific element), and many more. For this example, select “Auto Open” and click “Add”:

After adding your trigger, you’ll see options to customize its behavior. You can adjust settings like the delay before the popup appears.

When you’re satisfied with the trigger settings, click “Add” to apply them.
Pro Tip: For special offers or newsletter signups, the Exit Intent trigger often provides the best conversion rates without interrupting the user’s initial browsing experience.
Step 4: Set Up Targeting Rules
Make your popup more effective by controlling exactly where and to whom it appears. Popup Maker’s targeting options give you precise control over your popup’s audience.
In the Popup Settings area, click on the “Targeting” tab:

By default, your popup will display on all pages. To show it only on specific pages, choose “Pages: Selected” from the dropdown menu.

You can create sophisticated targeting rules based on user behavior, page categories, time spent on site, and more. For example, you might create a popup with customer service information that only appears on your support pages.
Pro Tip: To display your popup across your entire site, simply leave the targeting settings at their default values.
Step 5: Publish Your Popup
Once you’ve designed your popup, set up triggers, and configured targeting, you’re ready to make it live. Simply click the “Publish” button in the upper right corner.

Your popup will now display according to the triggers and targeting rules you’ve established. Visit your site to see it in action and make sure it’s working as expected.
Remember that you can always return to your popup settings to make adjustments to the design, timing, or display conditions as needed.