This guide shows you step-by-step how to use Popup Maker Pro’s built-in Split Test feature.
What is Split Testing or A/B Testing?
Split testing (a.k.a. A/B testing) is a tool you, as a content marketer or website owner, can use to make campaign choices based on proof.
Here’s a straightforward yet real-world use case.
You want to use a popup to get more people to sign up for a free guide. But you need to know what headline, CTA button, or color palette will drive more conversions (signups).
Let’s take the headline.
Hmmm, which one of these ideas should I go with?
- “Get the guide”
- “Get the free guide”
- “Get the best guide”
- “Get the comprehensive guide”
- “Get the must-have guide”
You can either guess and hope for the best. Or you can run a split test to see which headline converts more visitors (gets more signups)!
What if? Scenario
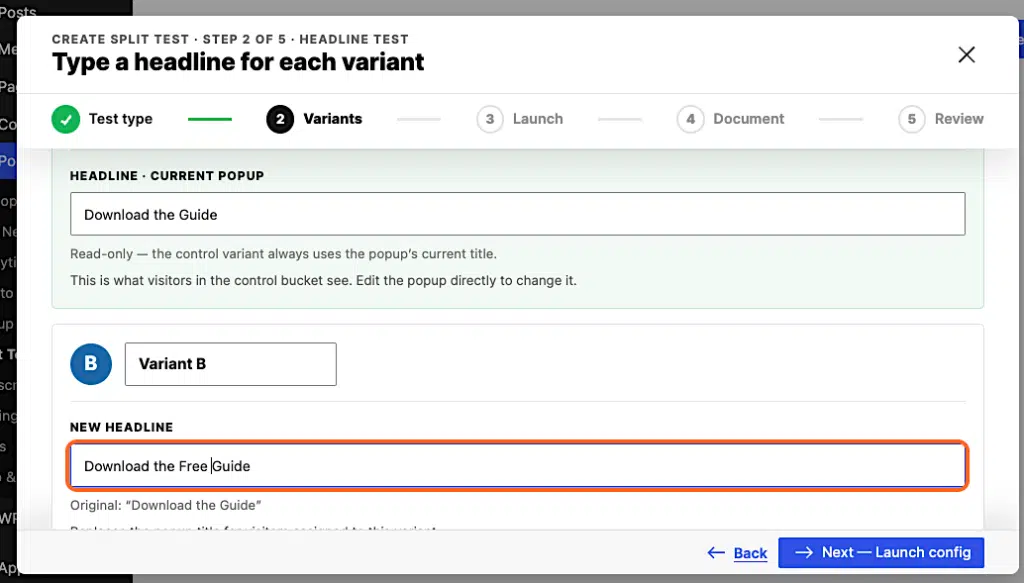
Here’s a “what if?” scenario. I have a popup to promote a guide for people to download. Right now, the headline reads, “Download the Guide”. What if I change it to “Download the Free Guide”? Which one is better? (Believe it or not, sometimes adding the word “free” is worse.)
Control vs Variant
In split testing, the original version,”Download the Guide”, is called the control.
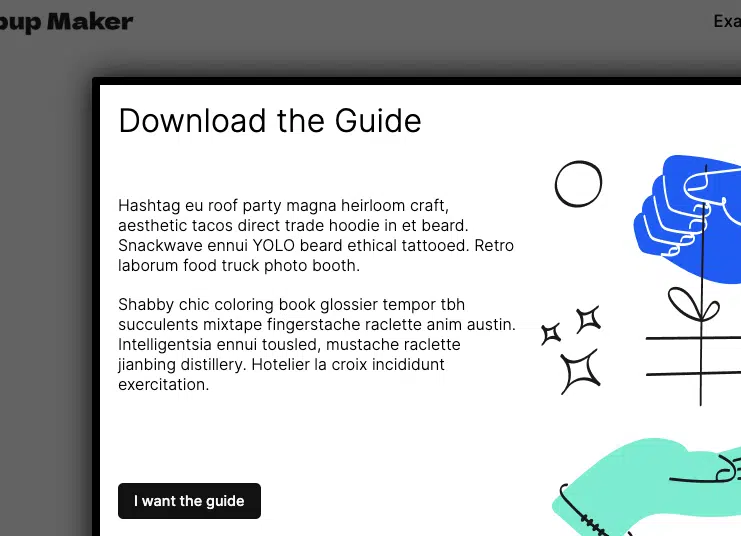
Our variant (challenger) is “Download the Free Guide”.
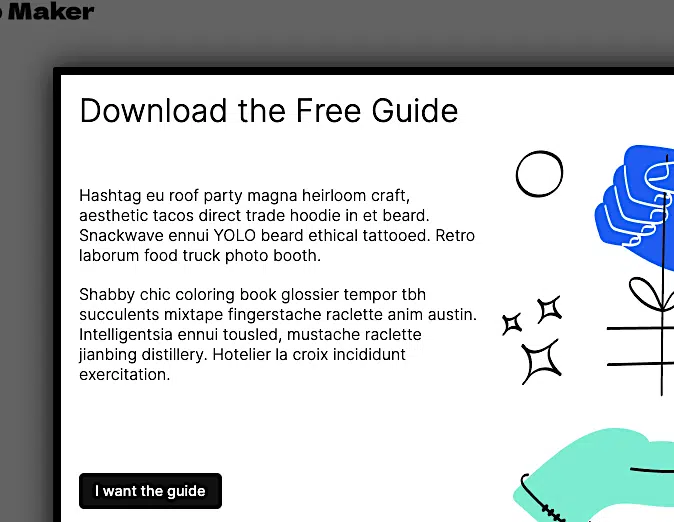
One popup is all you need: Best part, you don’t need to create 2 popups to run your split test. You only need one popup. Let’s make that popup now.
Steps to Create the Popup
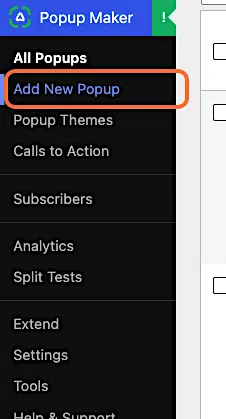
1. Click Add New Popup
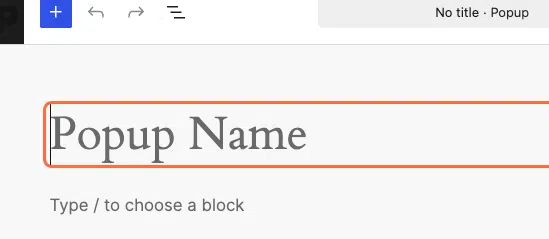
2. Type the Popup Name
The Popup Name is an internal name to help you manage your popups. This name is different from the popup’s headline (title). We’ll get to the title in a bit.
We typed My Split Test Popup as the Popup Name for this example.
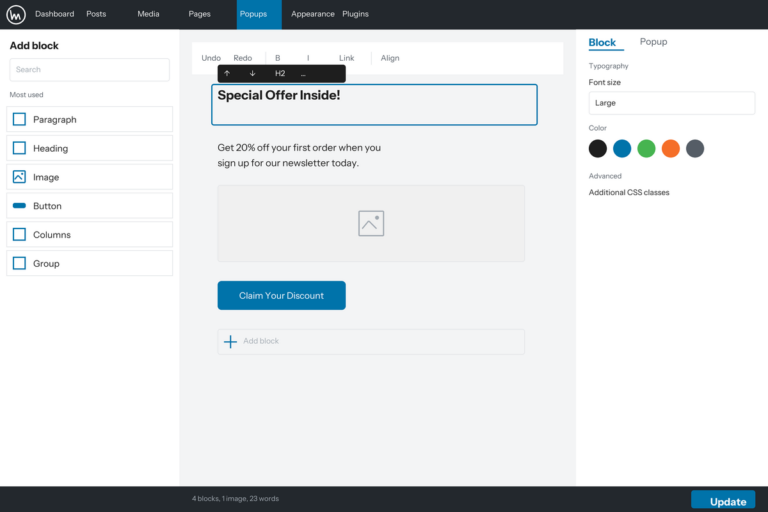
3. Add your content
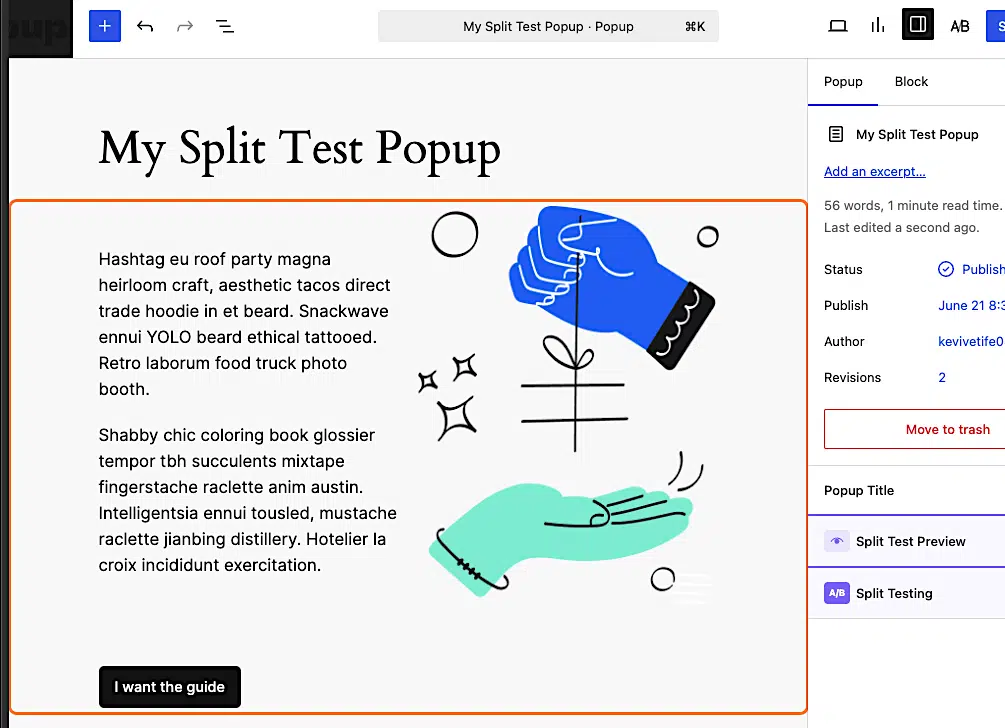
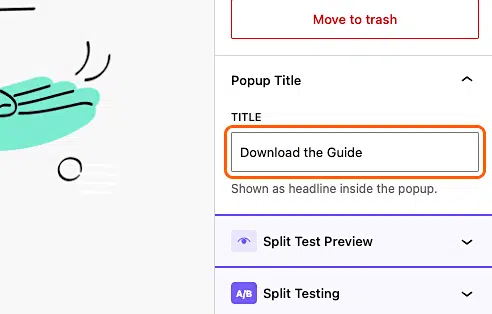
4. Type your headline in the popup’s Title field
This title will be the control subject for your split test.
Don’t forget to add a title: The title will display just above the content only for the live popup on the front end. You must have a title for this split test to work.
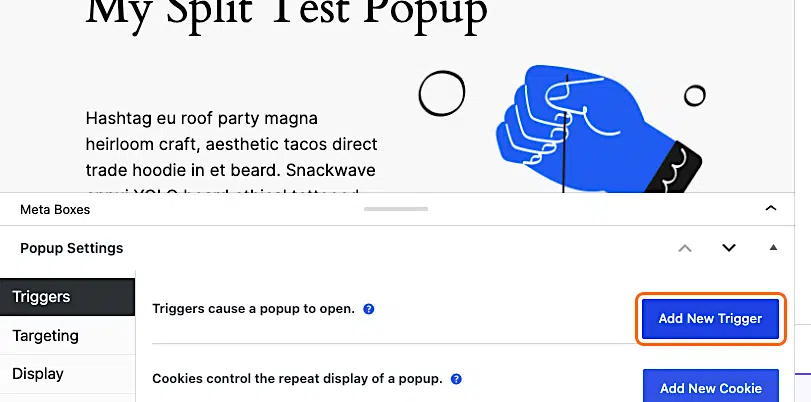
5. Click Triggers > Add New Trigger
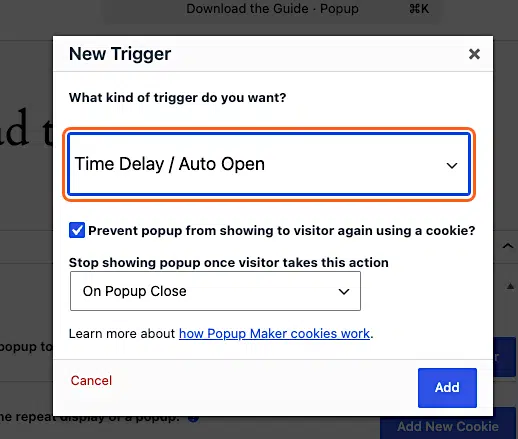
6. Select Time Delay / Auto Open
Keep the default settings and click Add.
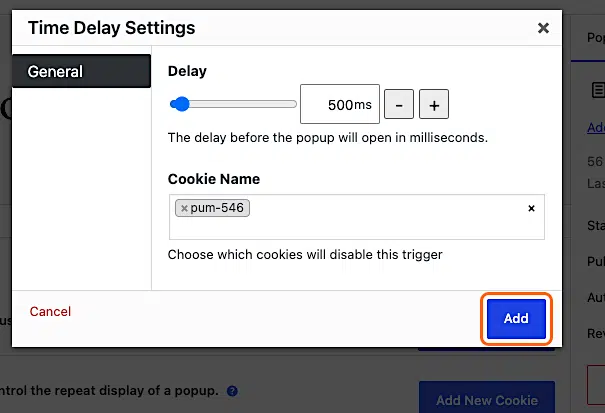
7. Keep the default Delay and Cookie Name, then click Add
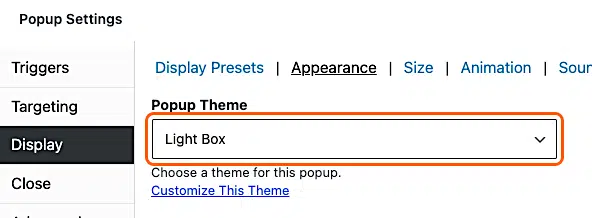
8. Change Display > Appearance > Popup Theme to Light Box
This is optional, but we think Light Box works best for this demonstration.
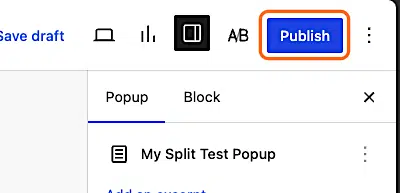
9. Click Publish
Time to set up our split test.
Steps to Create the Split Test
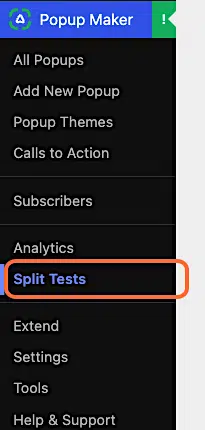
1. Click Popup Maker > Split Tests
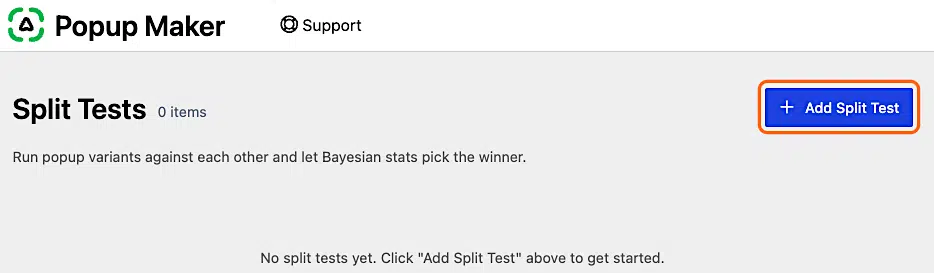
3. Click Add Split Test
4. Select the split test popup you created earlier
Then, click Continue.
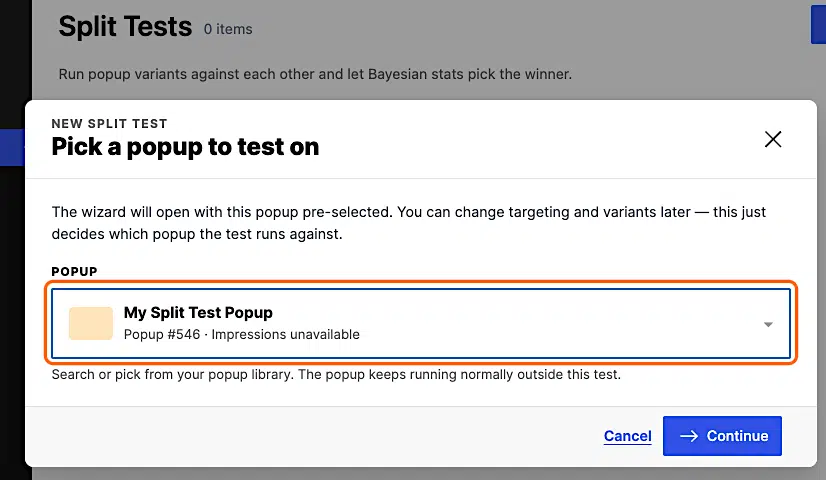
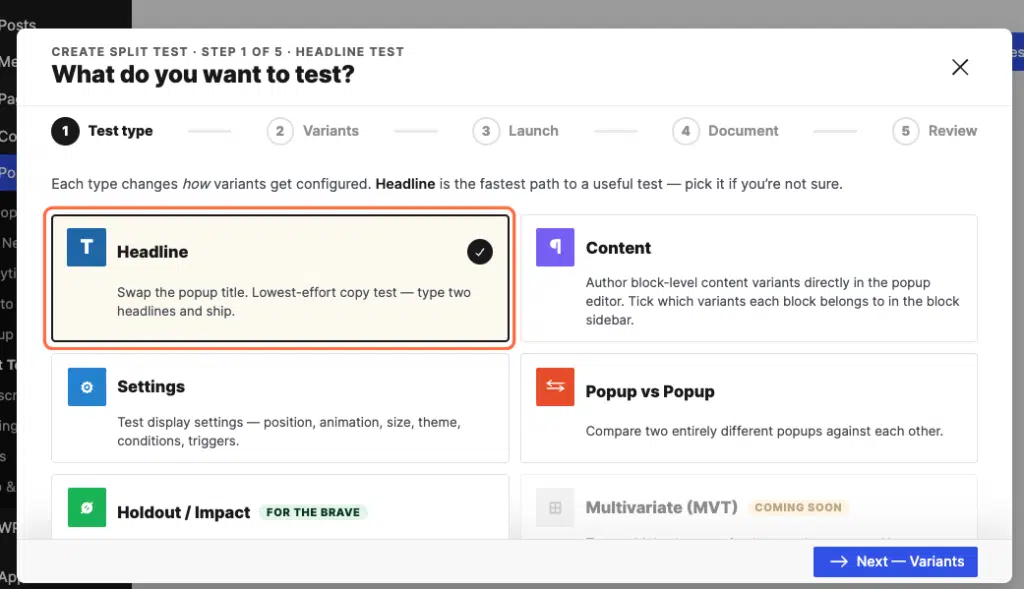
5. Click Headline
Then, click Next—Variants.
6. Type a NEW HEADLINE variant you want to test
Type your “challenger” headline, then click Next—Launch config.
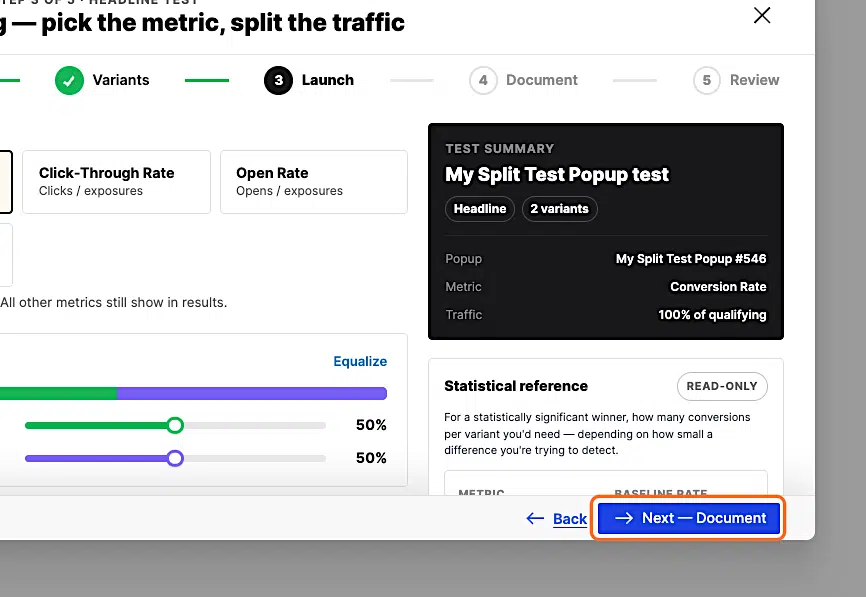
7. Change any default Launch settings (optional), then click Next—Document
In our example, we kept all the default settings to keep this guide simple. Read our Split Test Cheat Sheet to learn more about the Launch settings.
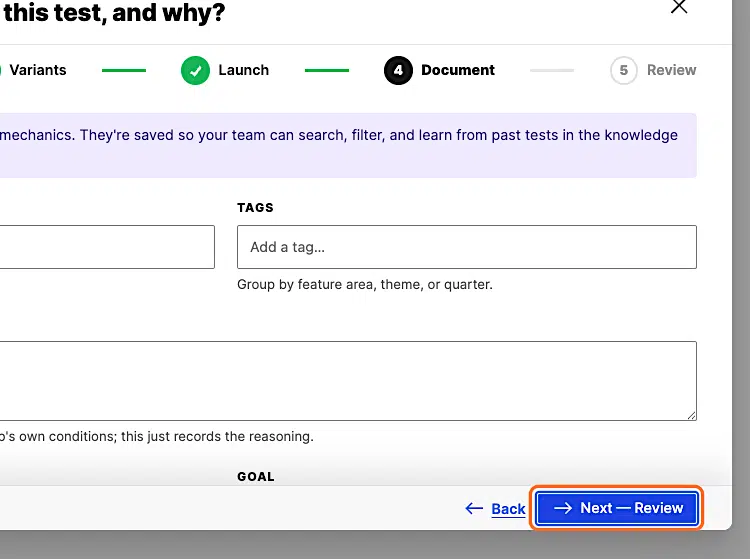
8. Optionally document your test, then click Next—Review
In our example, we left all these fields blank for simplicity.
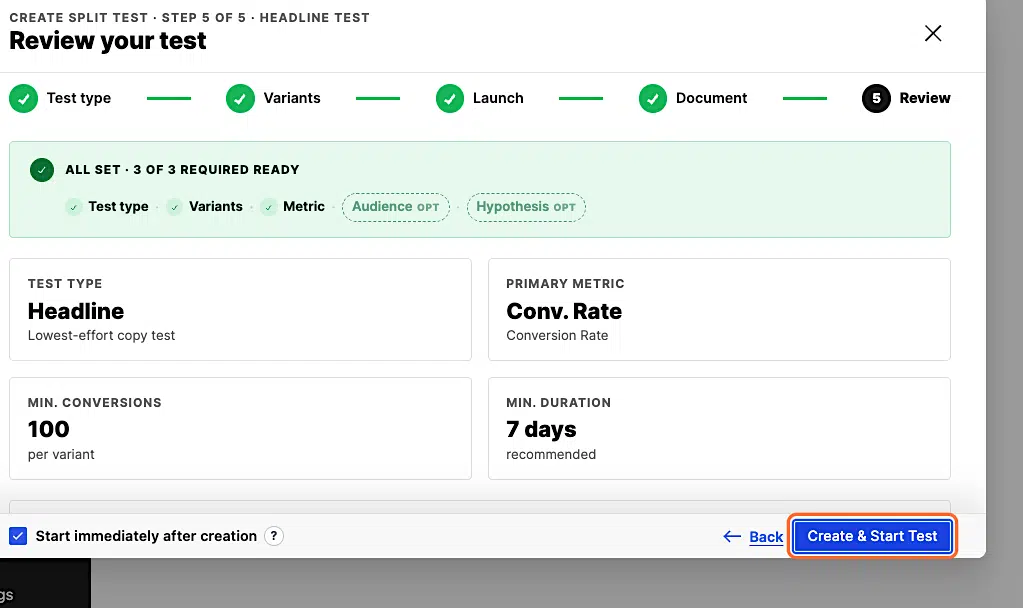
9. Review your test details, then click Create & Start Test
Click Back if you need to change anything before starting the test. Once the test starts, you can change only the documentation details.
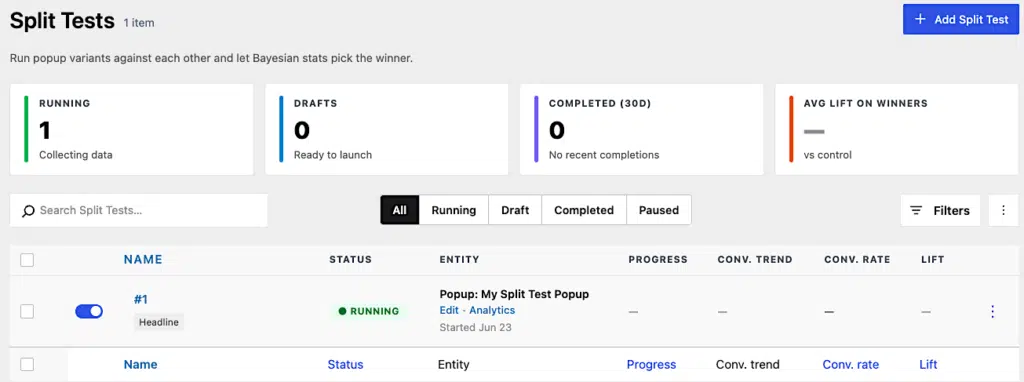
10. Come back to the Popup Maker > Split Tests admin page to check the progress
Test the Test
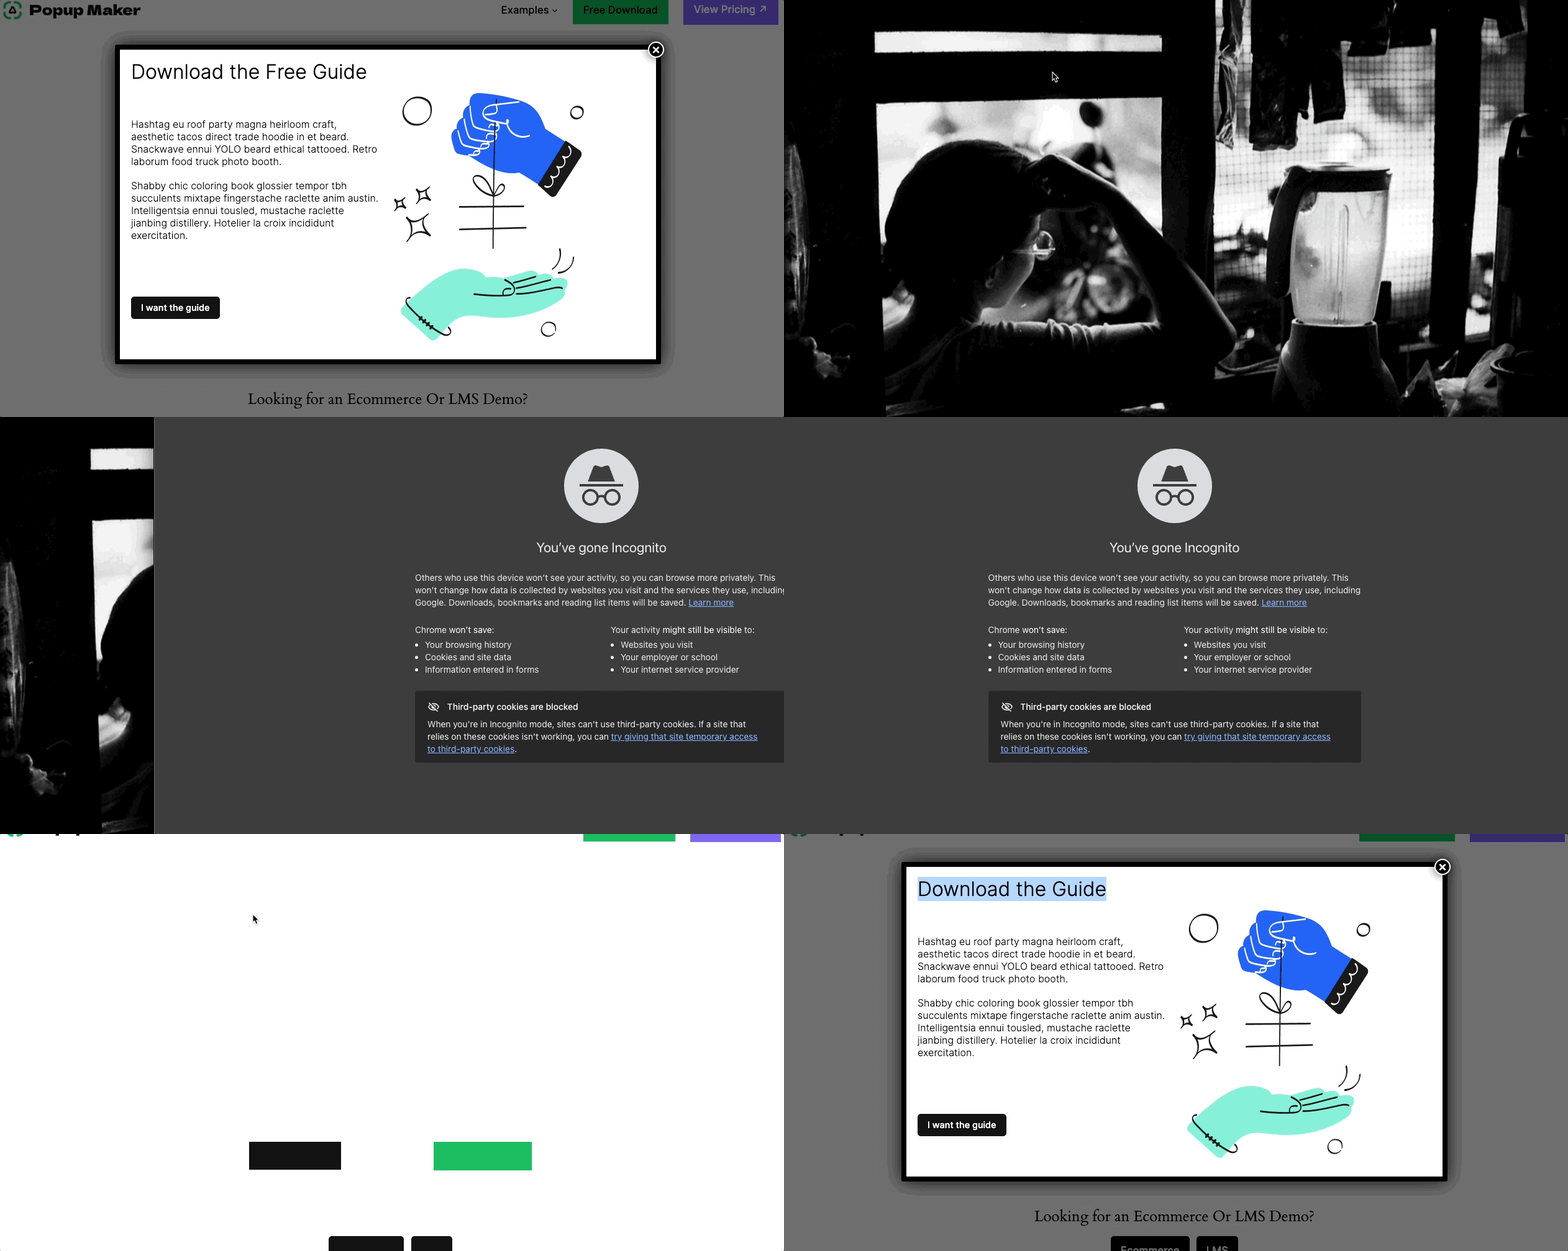
A cool thing we can do is test our split test. Try the following:
- Copy the URL of the page your popup will auto display.
- Open an Incognito browser window.
- Paste the URL into the Incognito browser.
- Hit enter.
- Check the popup’s headline.
- Close the Incognito browser window (so you open a new one every time).
- Repeat steps 2-6 until you see the headline change.
Here’s a demonstration of what you should see.
Frequently Asked Questions
-
Do I need Popup Maker Pro to run a split test?
Yes. Split testing lives in Popup Maker Pro’s Split Tests feature, so you’ll need Pro or Pro+ to test headlines, content, settings, entire popups, or even a popup against no popup at all. The free plugin doesn’t include built-in A/B testing.
-
How does Popup Maker decide who sees the Control and who sees the Variant?
Two settings control this. Traffic sliders set the split between your Control and Variant — adjust one and the other rebalances automatically so they always add up to 100%. A separate “Share of qualifying traffic” setting (10–100%, in 10% steps) controls how many eligible visitors enter the test at all; everyone outside that share just sees your existing popup.
-
How does Popup Maker pick a winner?
Popup Maker uses Bayesian analysis rather than a simple vote count, and it won’t call a winner until three conditions are met: a minimum number of conversions per variant (100 by default), a minimum test duration (3, 7, 14, or 30 days), and a confidence threshold you choose (90%, 95%, or 99% probability-to-be-best). You can always declare a winner manually before those thresholds are hit if you don’t want to wait.
-
How long should I let a split test run?
Give it at least 7 days — that’s the recommended default, since shorter windows risk catching a day-of-week pattern rather than a real difference between variants. Lower-traffic popups may need longer just to collect enough conversions to hit the per-variant minimum.
-
Can I split test more than just the headline?
Yes. Besides a Headline test, Popup Maker Pro supports Content tests (swap out block-level content), Settings tests (compare display options like size or animation), Popup vs. Popup tests (pit two entirely different popups against each other), and Holdout tests (a popup against no popup, to measure whether it helps at all).