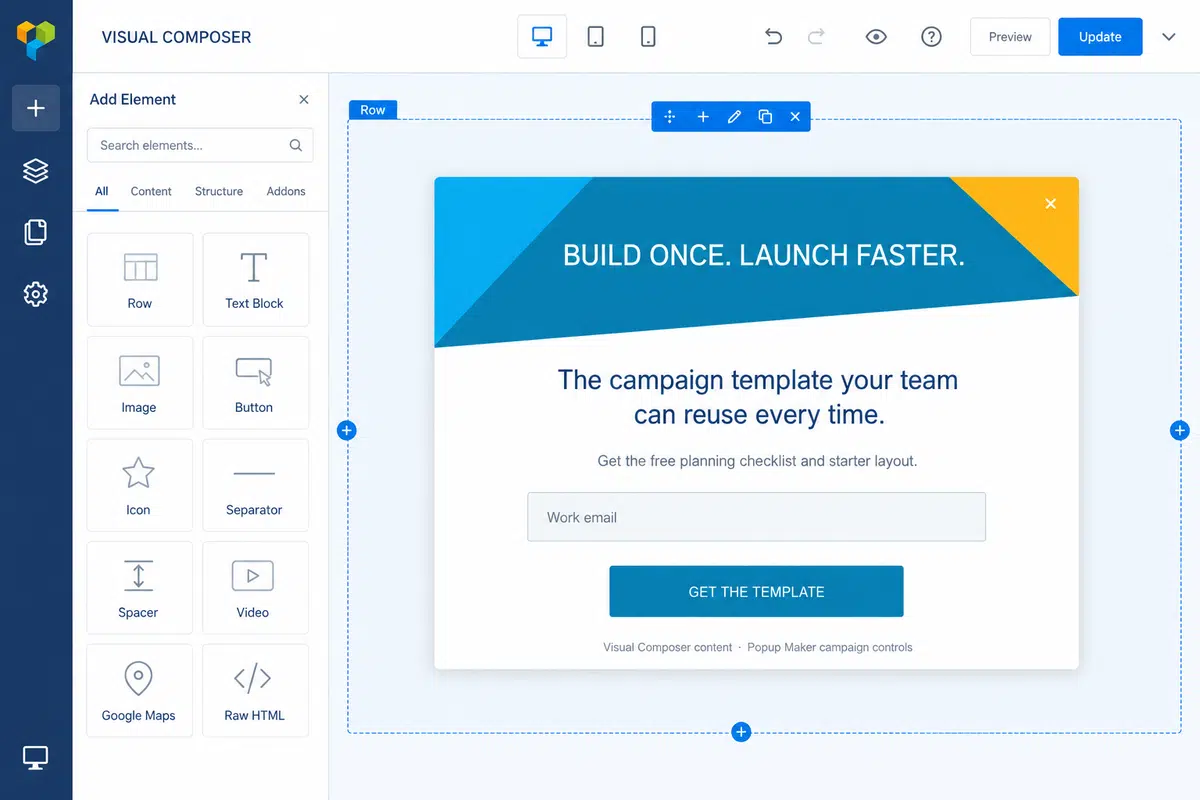
A Visual Composer popup can use the same visual editing workflow, rows, columns, and content elements you use elsewhere on the site. Popup Maker then controls how the campaign opens, where it appears, and how often eligible visitors see it.
In this tutorial, you’ll create the Visual Composer popup, design its content, configure the campaign, and test the complete visitor experience. You can start with Popup Maker’s free plugin.
What You’ll Need
- A WordPress site where you can install and configure plugins
- Popup Maker installed and activated
- Visual Composer Website Builder installed, active, and available to your WordPress role
- A clear goal, such as collecting a lead, promoting an offer, or announcing an update
Decide Which Tool Controls What
This guide covers Visual Composer Website Builder, not WPBakery Page Builder. Visual Composer owns the content inside the popup. Popup Maker owns the overlay, frame, close control, dimensions, triggers, targeting, cookies, and available reporting.
Review the Visual Composer popup integration details if you want a concise compatibility overview before starting.
Step 1: Create and Save the Popup
In the WordPress dashboard, go to Popup Maker → Create Popup. Enter a descriptive internal name that explains the campaign, such as “Homepage newsletter offer.” Select Save Draft before opening the builder so it can open this popup.
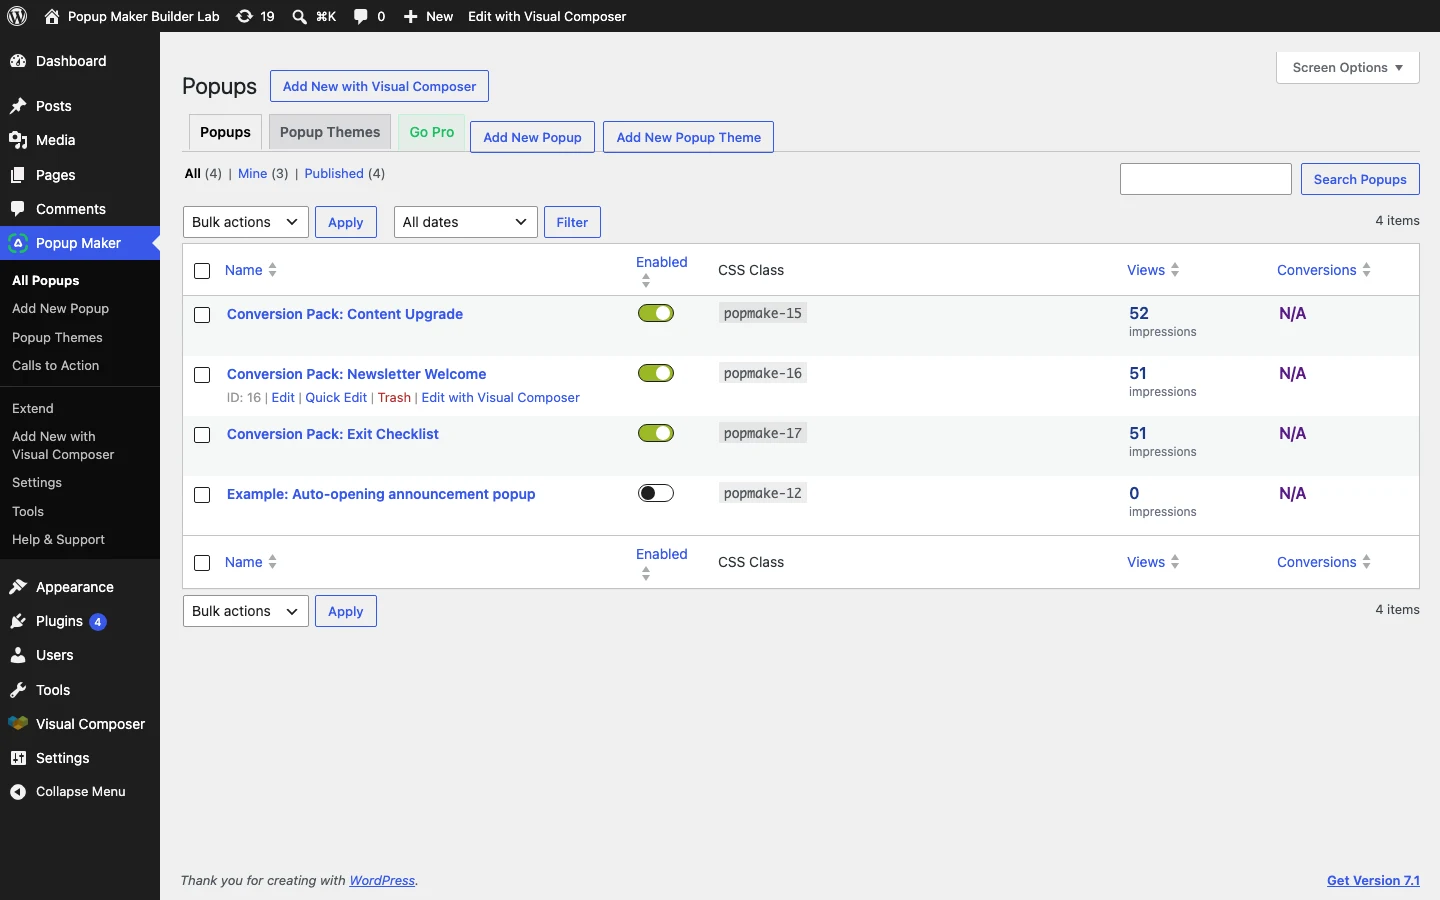
Leave the campaign unpublished while you build. A saved draft gives you room to finish the layout, presentation, trigger, targeting, and cookie settings before visitors can encounter it.
Step 2: Open the Popup in Visual Composer Website Builder
Open the popup you saved in Step 1 with the Visual Composer visual editor. If that option is missing, open Visual Composer’s Role Manager, allow your WordPress role to edit Popups, and reload the popup editor.
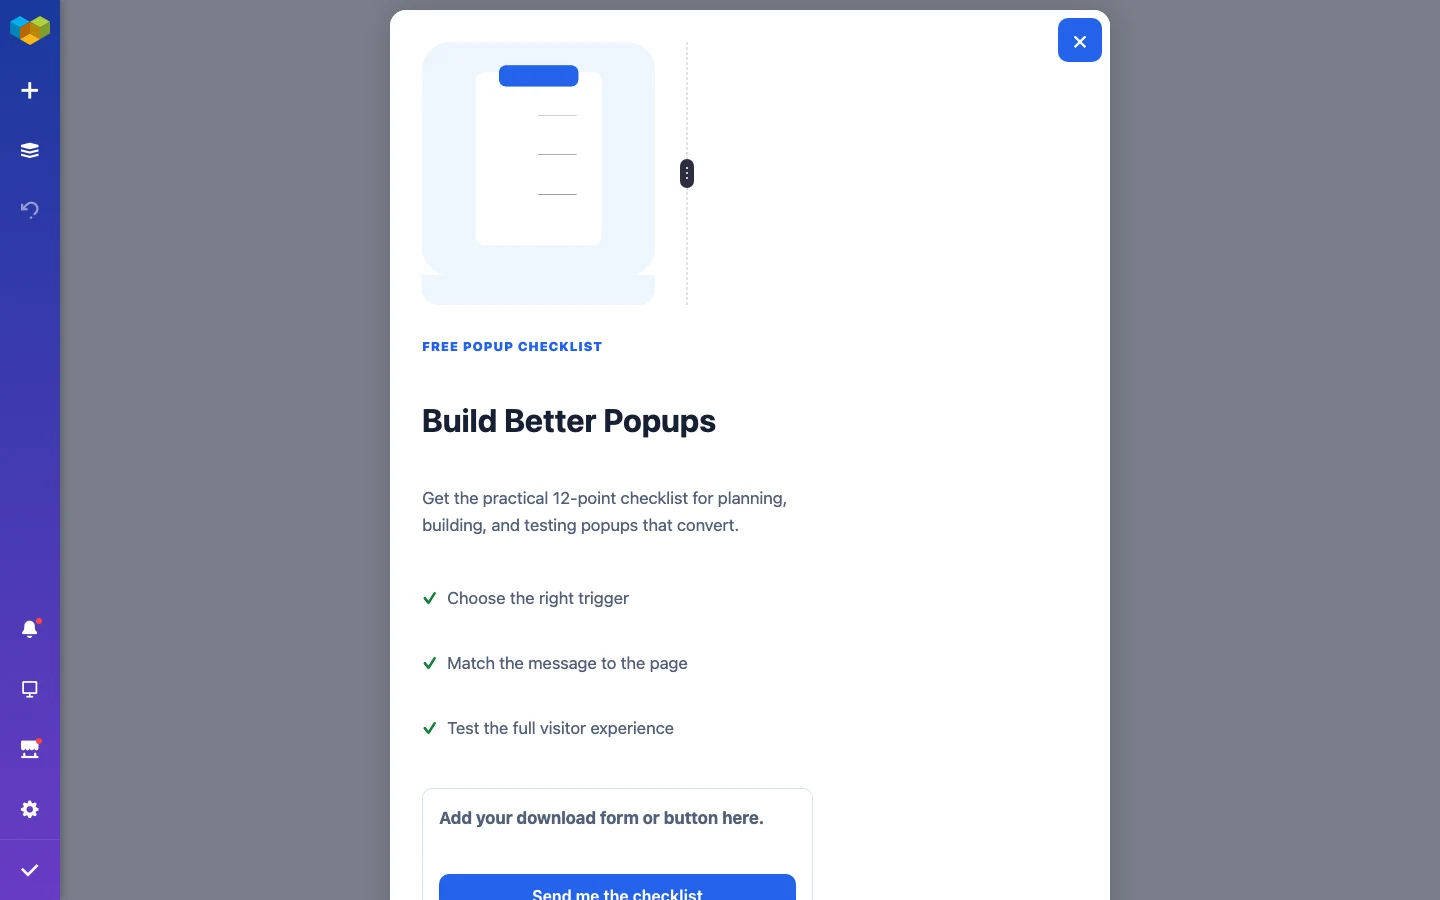
Step 3: Build the Visual Composer Popup Content
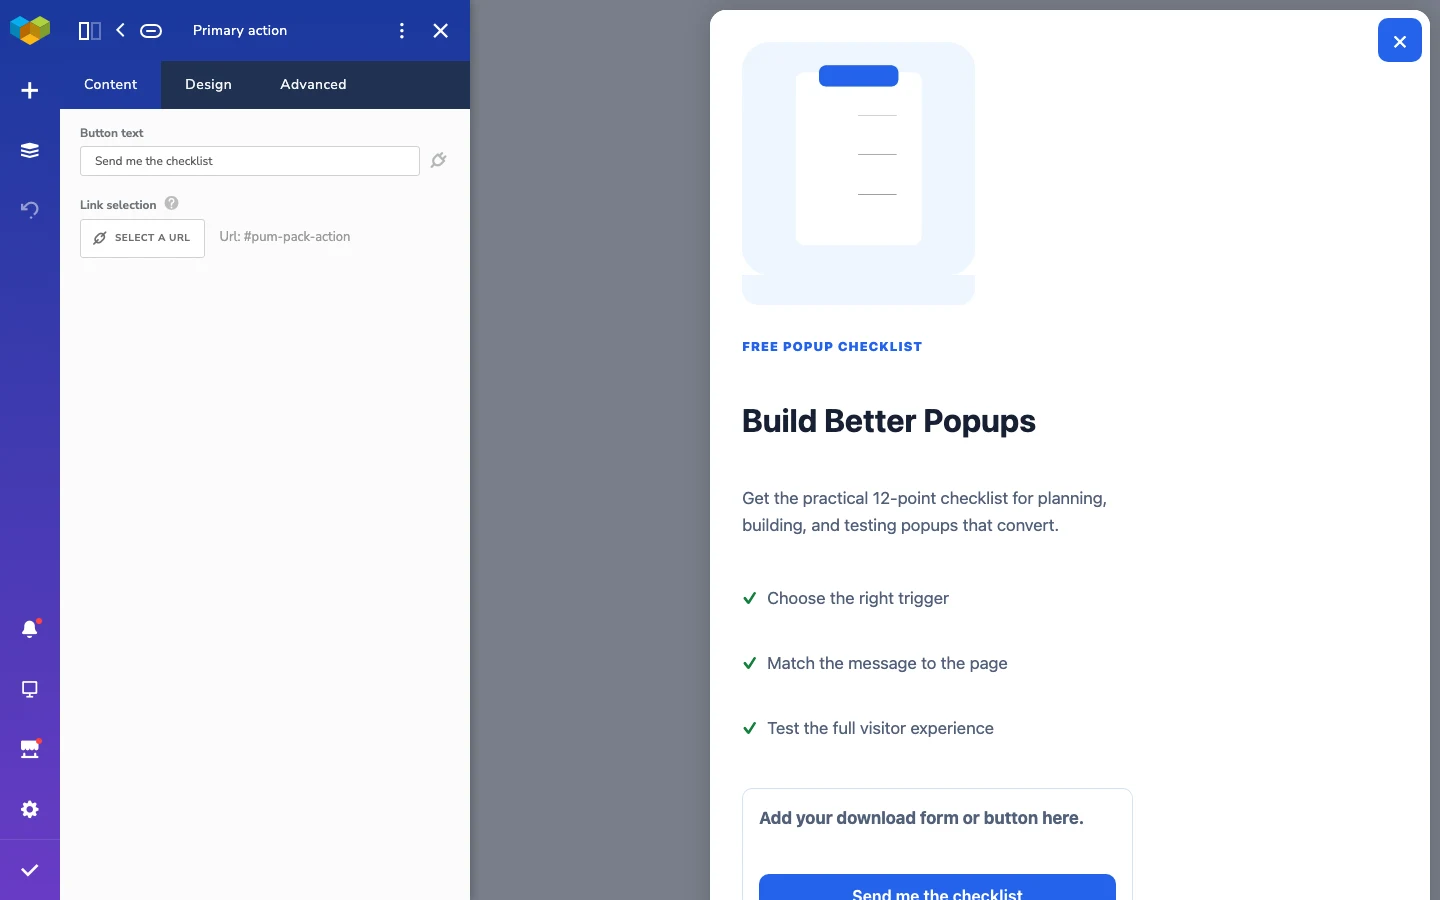
Add a row or content block, then place only the elements required for the campaign. Visual Composer’s visual editor lets you edit rows, columns, and individual elements in place. Keep the layout compact, avoid settings that force a page-sized height, and save with the editor’s checkmark when the content is ready.
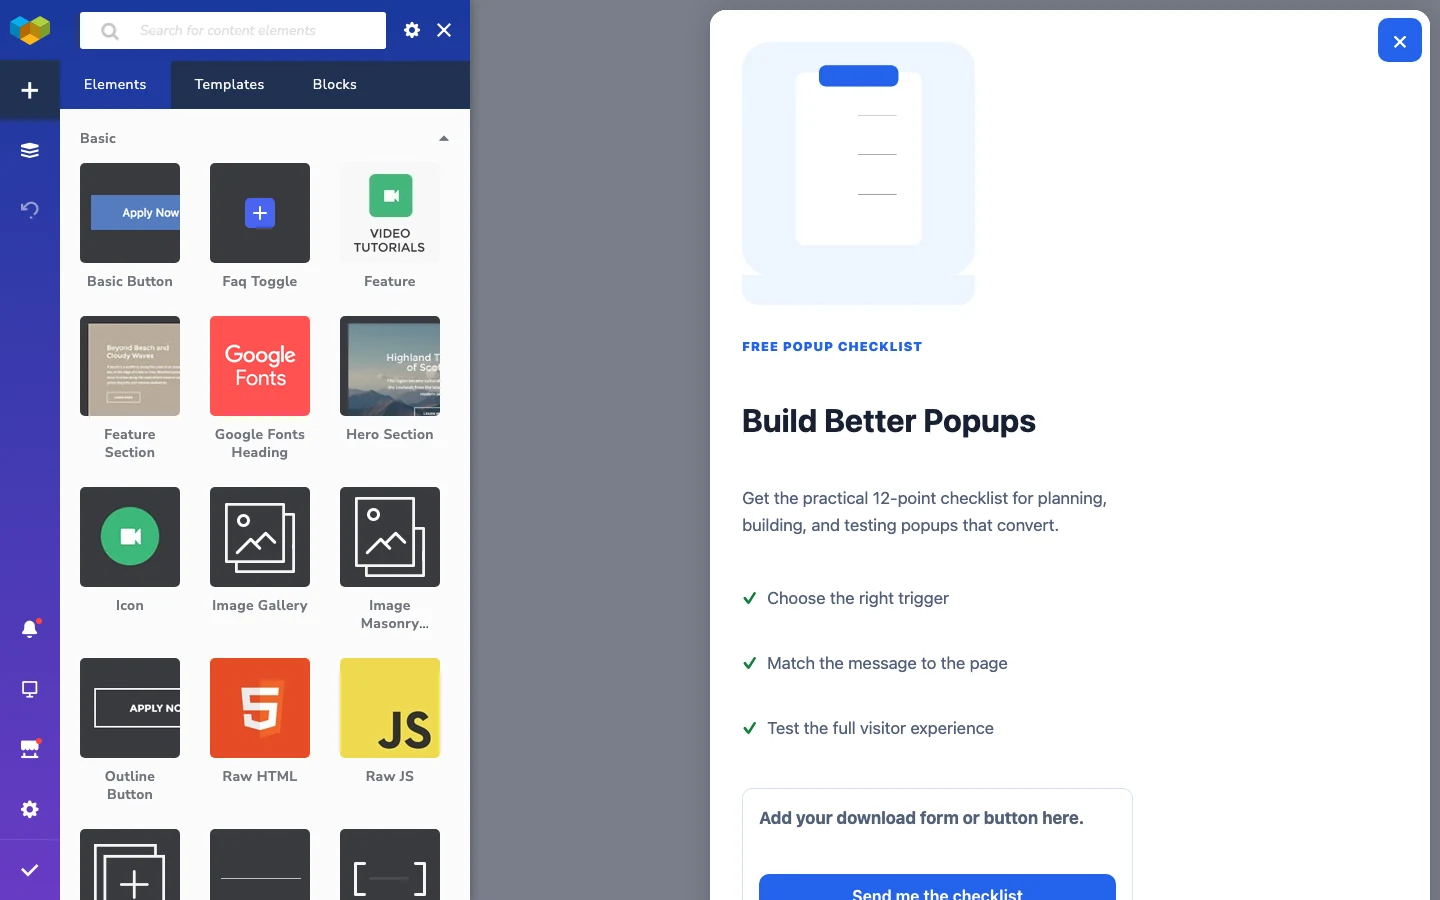
A Simple Popup Content Formula
- Headline: state the offer or outcome in one clear sentence.
- Supporting copy: explain the value or next step without turning the popup into a full page.
- Primary action: use one obvious button or form submission.
- Trust detail: add only the reassurance needed to complete the action.
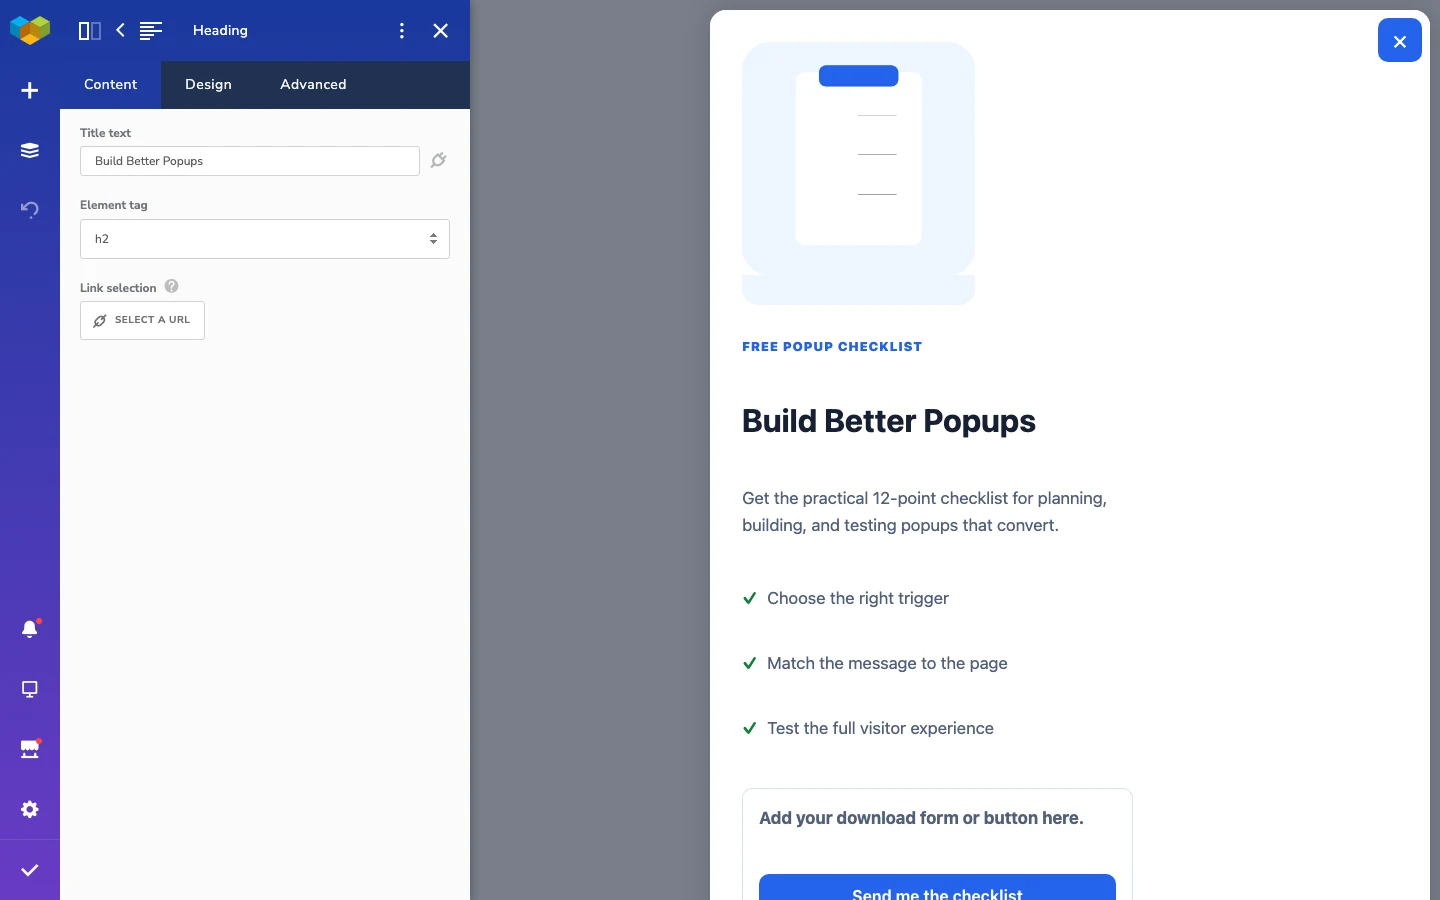
Responsive Design Tips
- Confirm you are using Visual Composer Website Builder before following the editor steps.
- Enable Popups only for the WordPress roles that should maintain campaigns.
- Use the tree view when nested rows and columns are difficult to select in a compact canvas.
- Test every Hub element or third-party integration on a live page after the popup opens.
Step 4: Configure the Popup Maker Frame
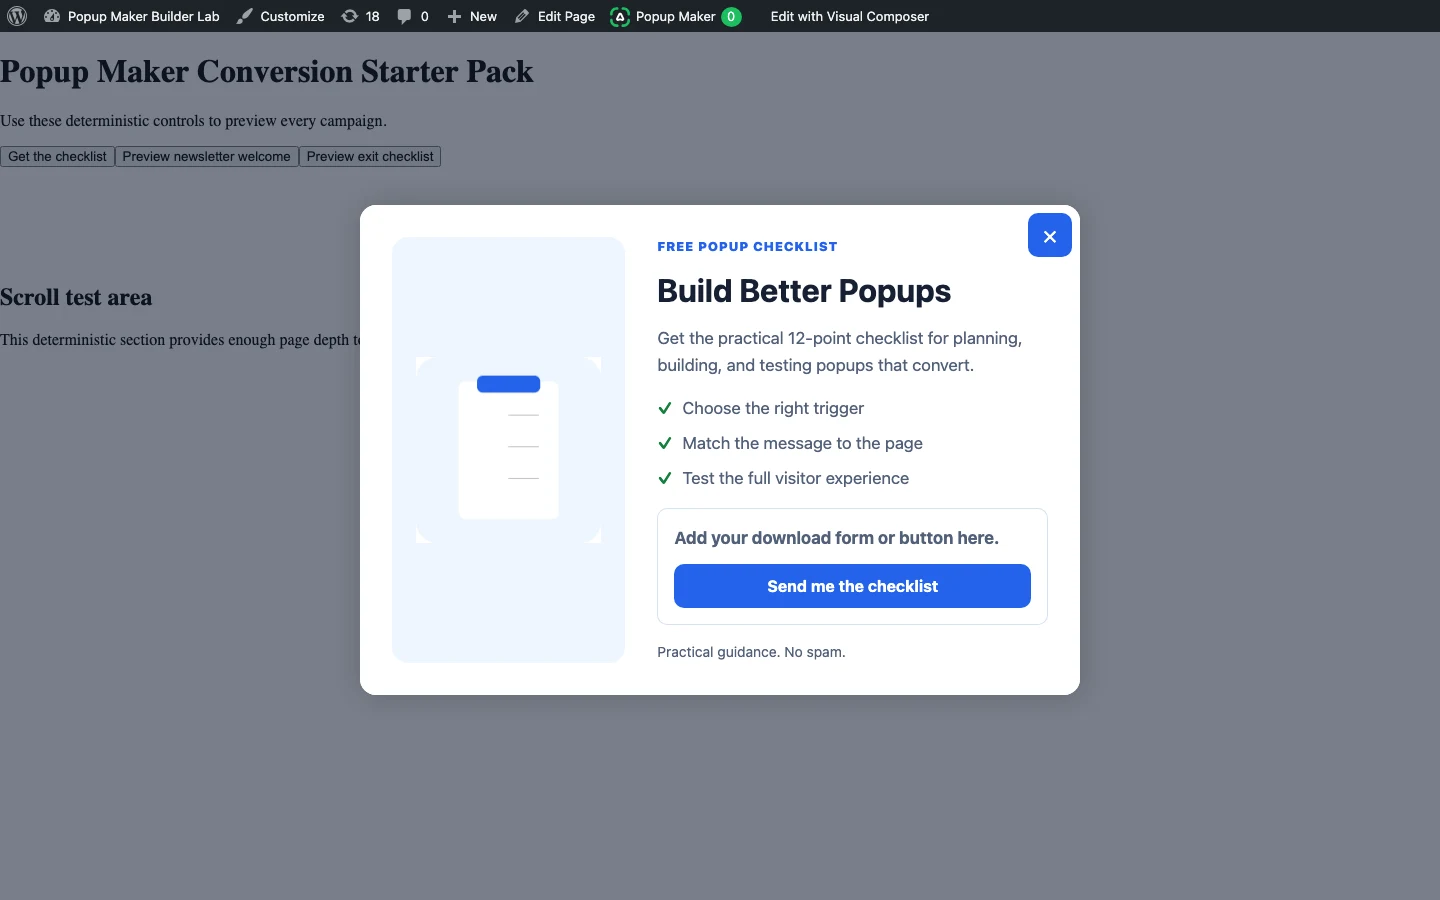
Save the builder design and return to the Popup Maker editor. Choose a popup theme, then set the container size and position around the content you built. The theme controls the overlay, frame, close button, and default spacing; the builder controls the content inside that frame.
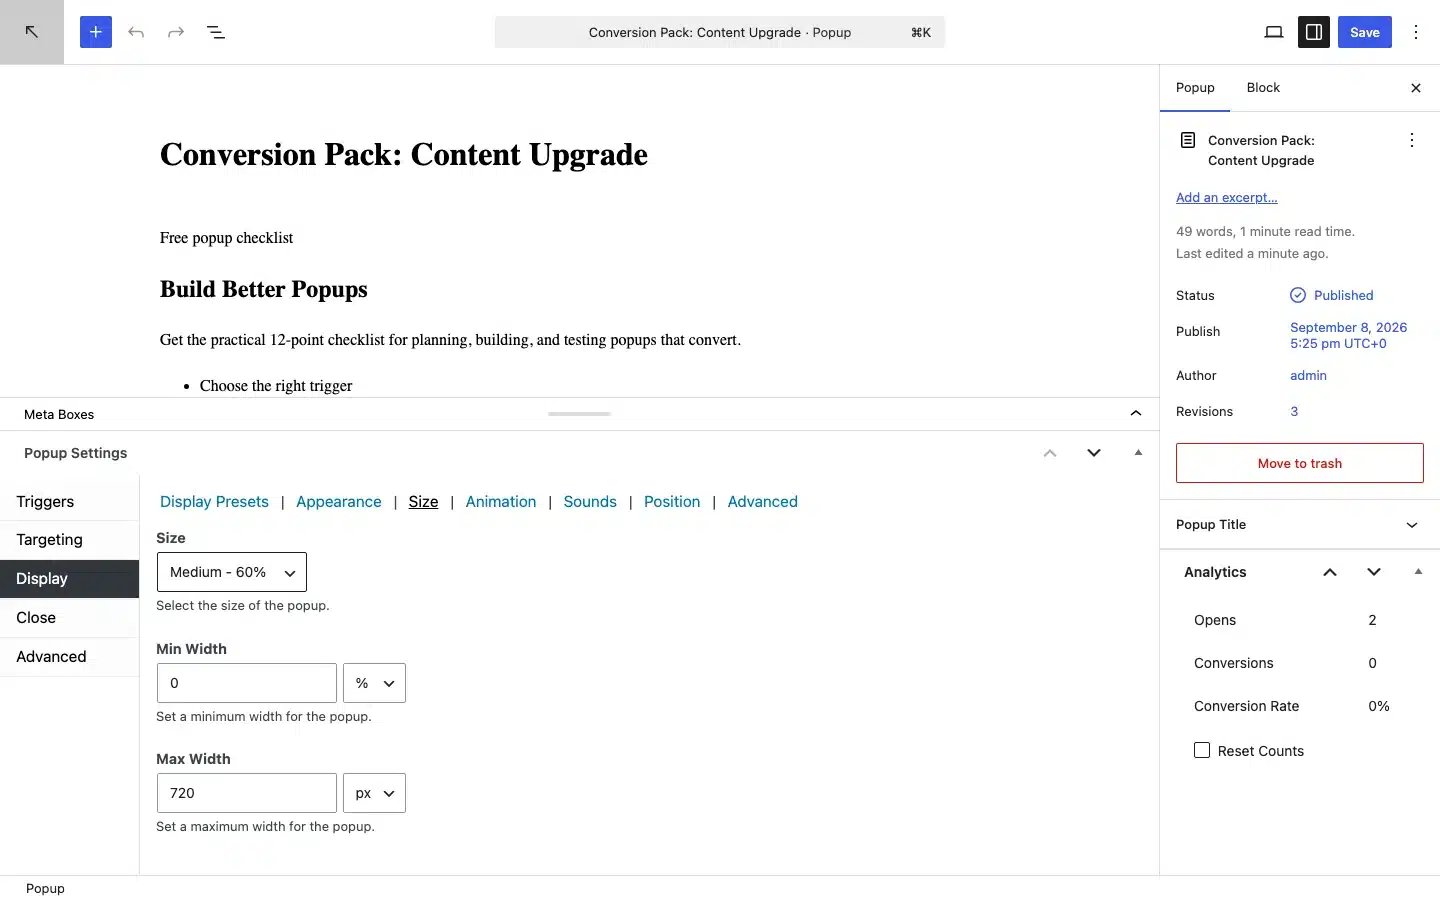
Preview the combination before adding custom styling. If the design feels crowded, simplify the content or increase the Popup Maker width. If it feels disconnected from the site, align the popup theme with the builder typography, colors, rounded corners, and spacing.
Step 5: Add a Trigger, Targeting, and Cookies
Return to Popup Maker to choose the opening trigger, targeting conditions, and cookie behavior. Use Popup Maker for this delivery layer even if Visual Composer Premium also exposes a separate popup feature; combining both systems on one campaign can create duplicate overlays or competing rules.
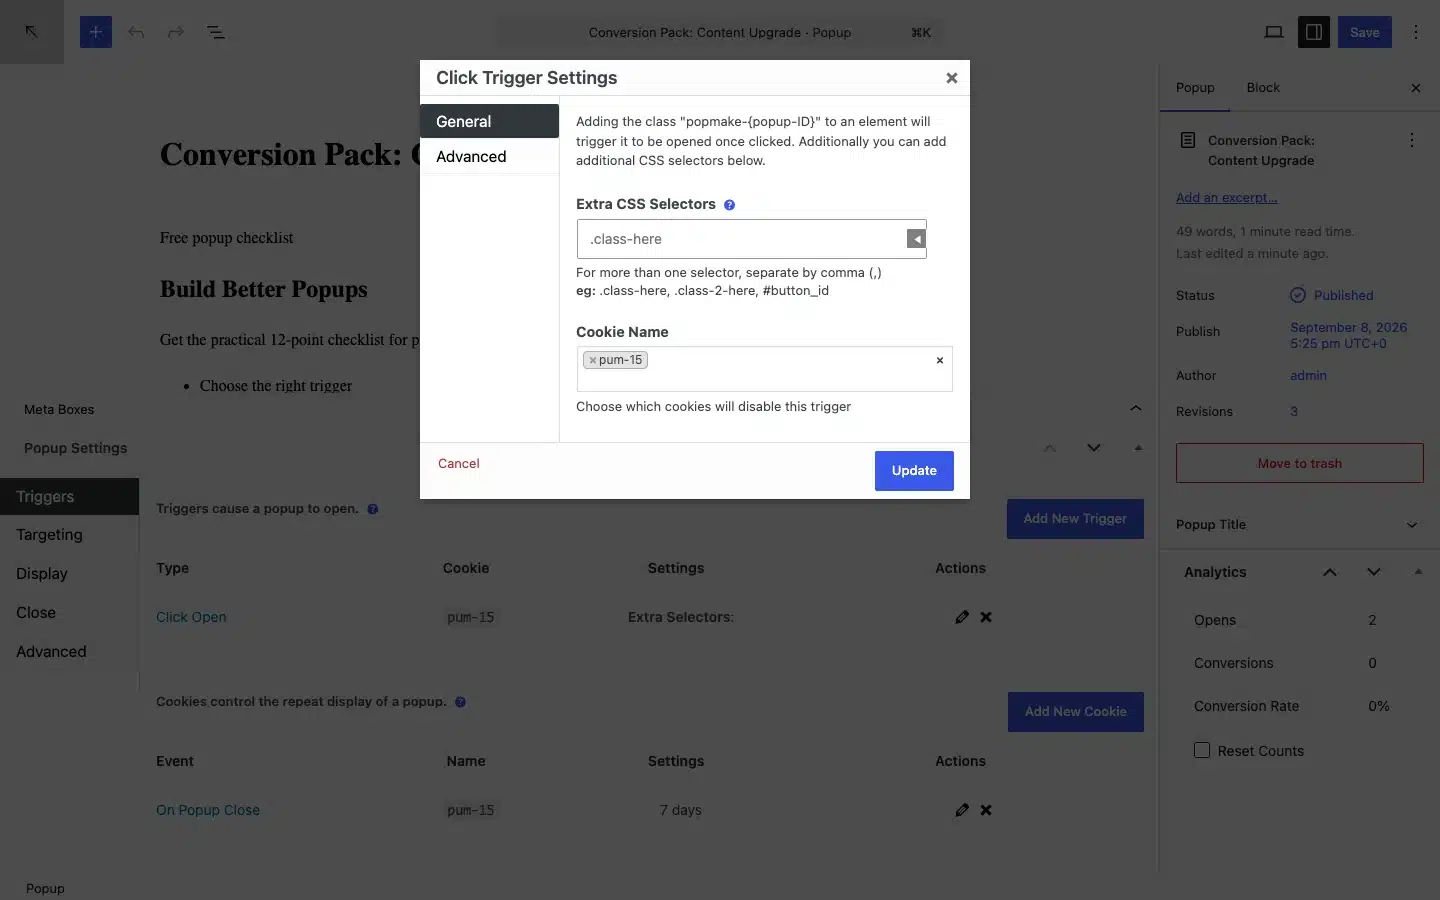
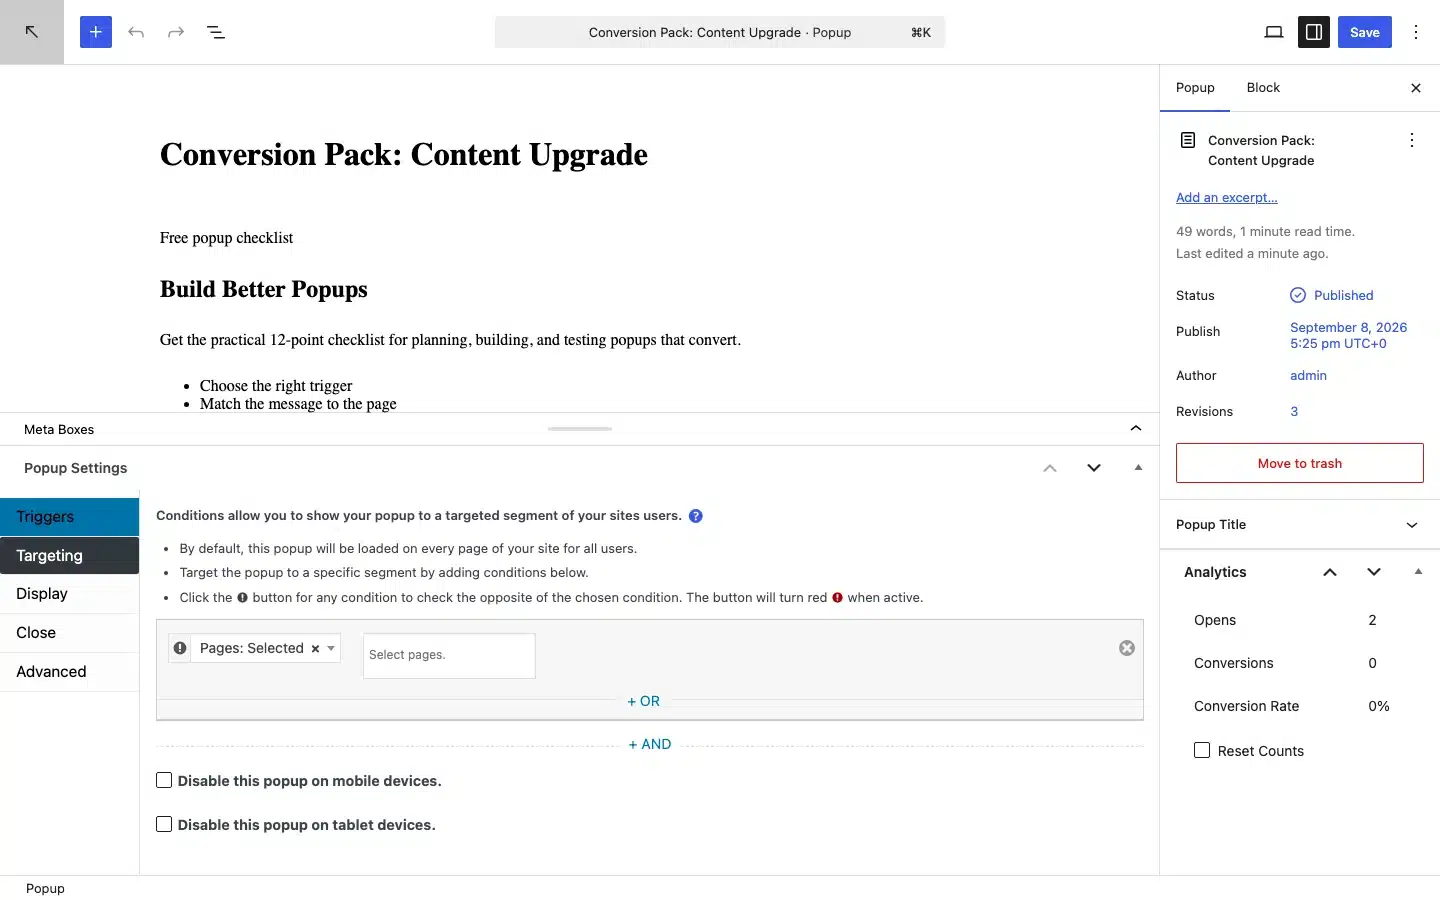
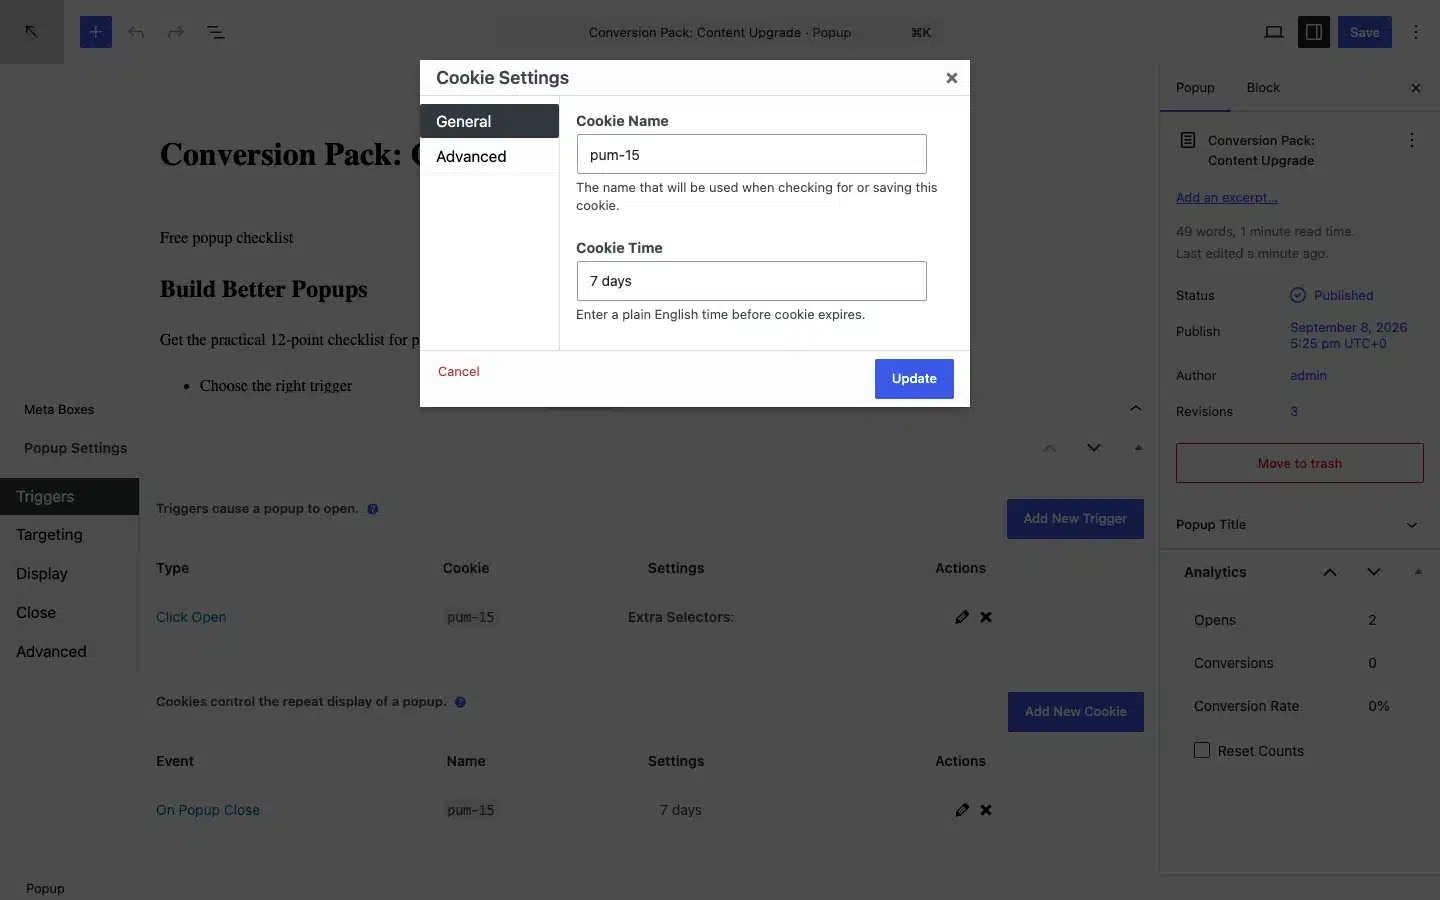
- Popup triggers decide what opens the popup.
- Popup targeting decides which pages or visitors are eligible.
- Popup cookies decide when an eligible visitor should stop seeing it.
Treat those as separate decisions. A trigger does not replace targeting, and a targeting rule does not open the popup by itself. Add only the cookie behavior that matches the campaign goal; otherwise you can accidentally suppress a campaign before a visitor completes the intended action.
Step 6: Test the Complete Campaign
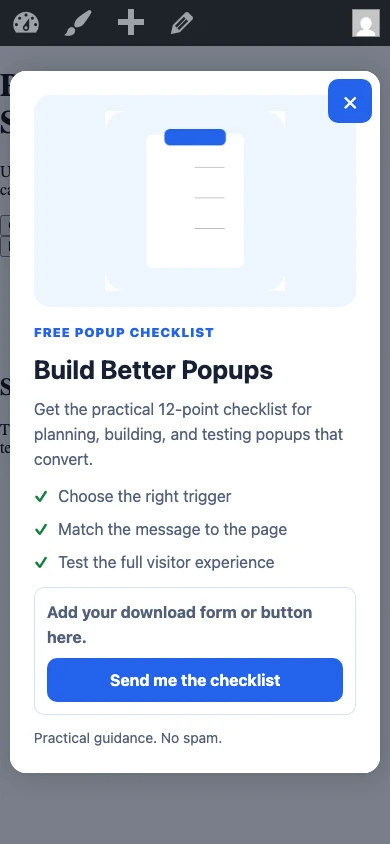
Preview the popup from a normal site page, then test again in a private browsing window. This shows what a logged-out visitor sees and can reveal targeting or cookie settings hidden by an administrator session.
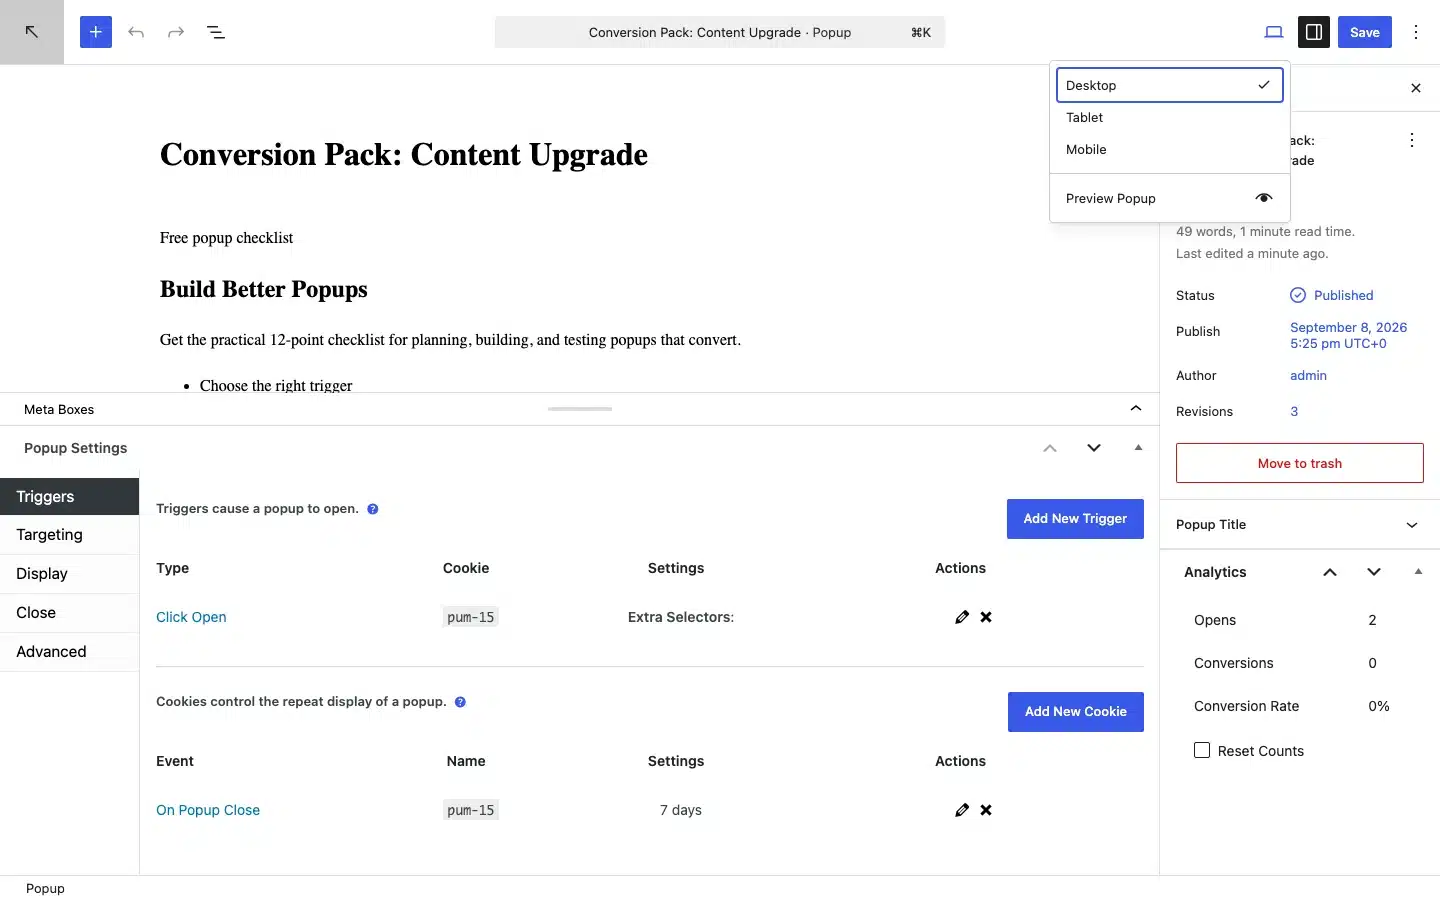
- Open the popup with every configured trigger.
- Confirm the overlay and close controls work with mouse, touch, and keyboard.
- Submit the form or follow the primary button and verify the intended result.
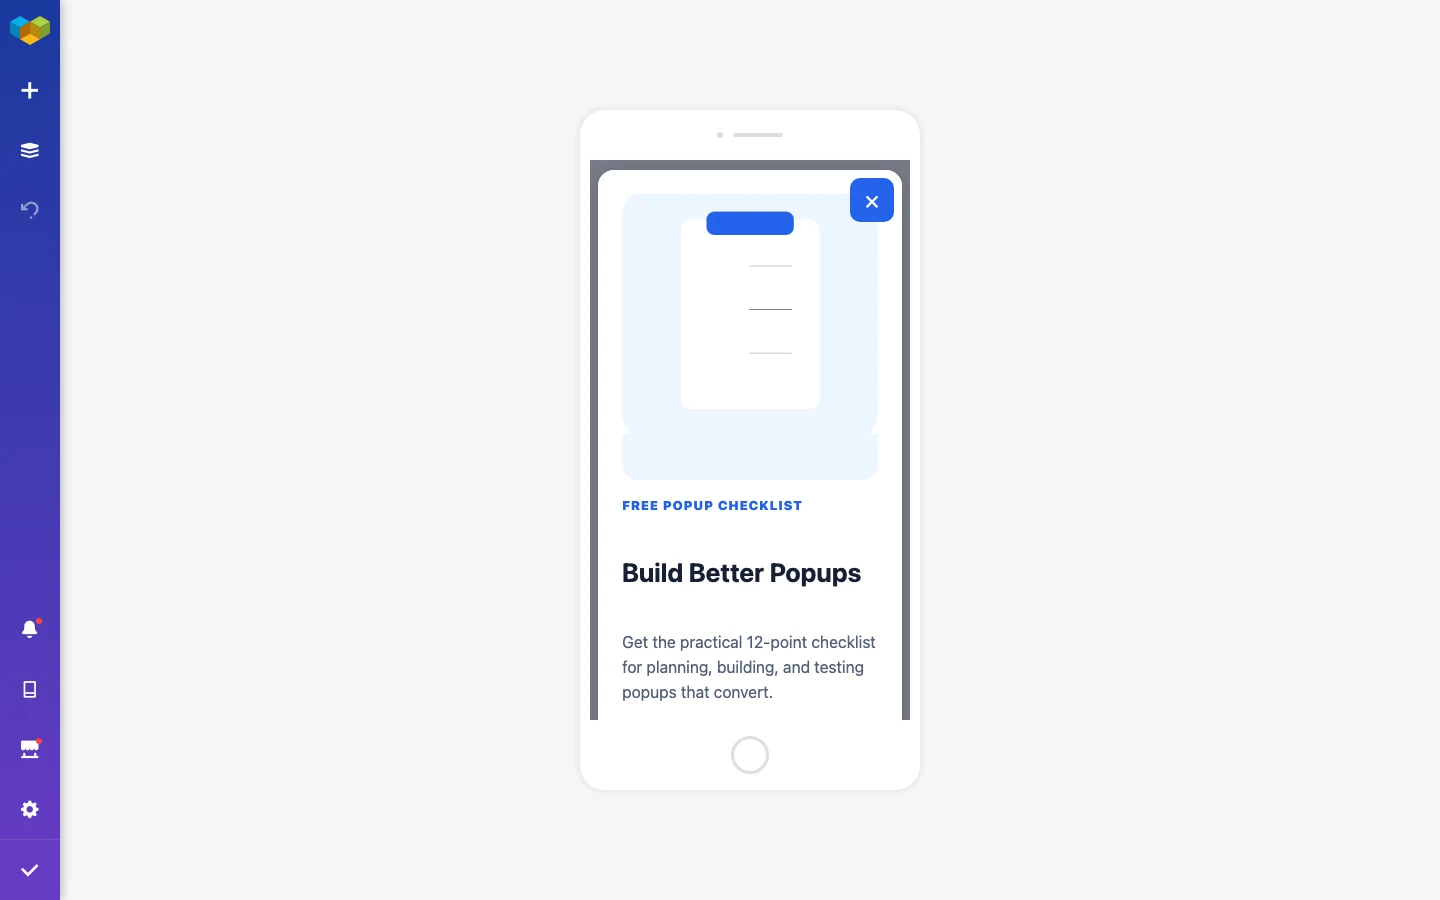
- Check desktop and narrow mobile widths without horizontal scrolling.
- Confirm excluded pages and visitors do not receive the campaign.
- Repeat the test after the configured cookie is created.
Troubleshooting
- The visual editor is unavailable: check Visual Composer Role Manager and make sure your role can edit Popups.
- The content is clipped: remove fixed heights, reduce row padding, and compare element widths with the Popup Maker container.
- Two popup systems fire: disable the Visual Composer popup trigger for this campaign and let Popup Maker own delivery.
To find the cause of a problem, save both editors and test while logged out. Temporarily simplify the popup to one text element and one button, then add other elements back one at a time.
Create Your First Visual Composer Popup
Start with one focused campaign, build the content in your preferred editor, and let Popup Maker handle its delivery. Get Popup Maker free or review the official builder documentation for deeper help with the editor itself.
Frequently Asked Questions
Is Visual Composer the same as WPBakery Page Builder?
No. This tutorial covers Visual Composer Website Builder. WPBakery is a separate product with a different editor and integration path.
Why is the Visual Composer editor missing for popups?
Check Visual Composer Role Manager and enable editor access for the popup post type and your WordPress role.
Does this integration require Popup Maker Pro?
No. Direct builder editing and standard Popup Maker triggers are available in the free plugin. Optional extensions add advanced campaign features.
Can I use Visual Composer Hub elements?
You can use elements available to your Visual Composer plan, but test interactive and third-party elements after the popup opens on the frontend.
Should I also configure Visual Composer Popup Builder?
No. Use one popup delivery system for a campaign. When Popup Maker owns the campaign, configure triggers, targeting, cookies, and the surrounding frame there.