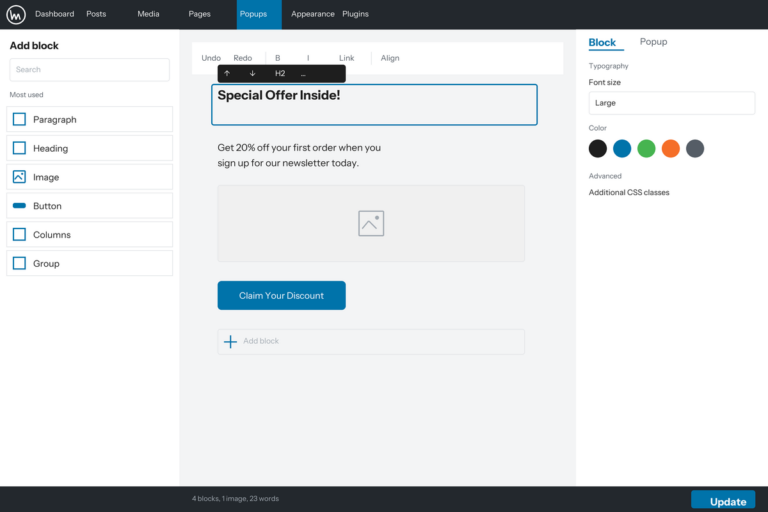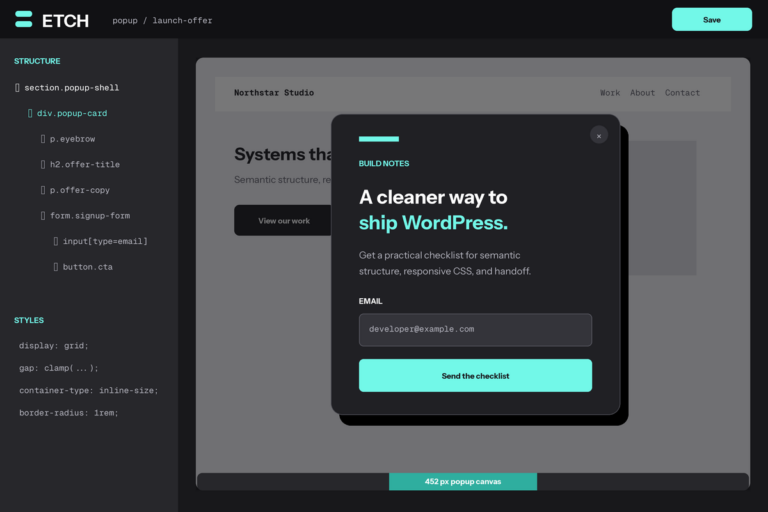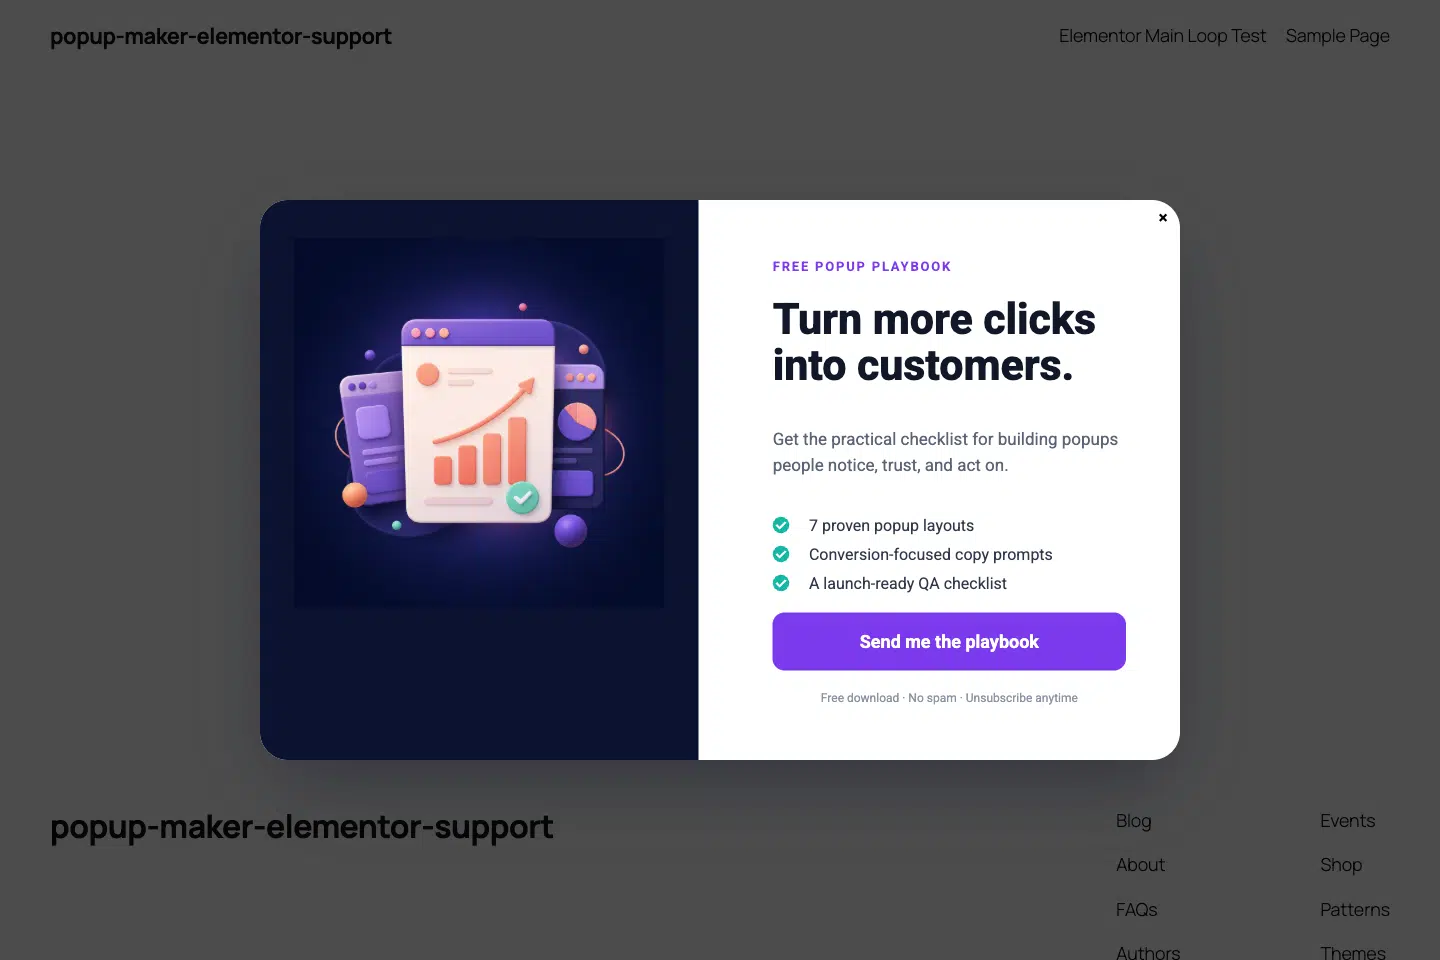
You can design Popup Maker popups directly in Elementor—using the same containers, widgets, responsive controls, and visual workflow you use for pages and posts.
Elementor controls the content inside the popup. Popup Maker controls how that content becomes a popup: its container and overlay, size and position, animation, close button, triggers, cookies, and targeting.
In this tutorial, you’ll build an Elementor popup, preview it while you work, and configure it to display on your site.
What You’ll Need
- The latest version of Popup Maker.
- The latest version of Elementor.
- A WordPress user account allowed to edit popups.
Elementor Pro is not required to edit Popup Maker popups. You only need Pro if your design uses Elementor Pro widgets or features.
Why Use Popup Maker with Elementor Instead of Elementor Popups?
Elementor’s own popup builder is included with Elementor Pro and combines popup design, conditions, triggers, and advanced rules in the Elementor workflow. That can be a reasonable fit for an all-Elementor site. Popup Maker is the stronger choice when you want Elementor to handle design while a dedicated WordPress popup platform handles campaigns, integrations, measurement, and growth features.
- Design popups with Elementor Free. You do not need Elementor Pro simply to turn an Elementor design into a popup.
- Keep design and campaign controls separate. Elementor manages the visual content; Popup Maker manages themes, overlays, close behavior, triggers, cookies, and targeting from one popup-focused interface.
- Use purpose-built behavioral triggers. Exit Intent and Scroll Triggers in Popup Maker Pro let campaigns respond to how visitors actually engage, including mobile exit behavior.
- Target campaigns with WordPress and visitor context. Popup Maker supports page and content rules, and Pro expands this with advanced conditions such as referral-source and URL targeting.
- Measure and improve results. Popup Maker Pro adds an analytics dashboard, while split testing helps compare designs, offers, and timing instead of relying on guesswork.
- Build campaigns around commerce data. Ecommerce Popups can respond to products and store pages; Pro+ adds advanced cart, purchase-history, revenue-action, and attribution capabilities for WooCommerce and Easy Digital Downloads.
Start with Popup Maker Free for unlimited popups and the essential display controls. When you need behavioral triggers, advanced targeting, analytics, and testing—or Pro+ ecommerce and revenue attribution—compare the options on the Popup Maker Pro plans.
Before You Start: Decide Who Controls the Styling
Popup Maker and Elementor can both add backgrounds, spacing, borders, and other visual styles. Decide where each responsibility belongs before you build.
For most Elementor-designed popups, this split works well:
| Elementor | Popup Maker |
|---|---|
| Content layout | Popup width and position |
| Typography and colors | Screen overlay |
| Images, buttons, forms, and widgets | Opening and closing animations |
| Internal spacing and responsive layout | Close button |
| Content background and border radius | Triggers, cookies, and targeting |
If Elementor will style the entire visible card, select Popup Maker’s Content Only theme. This prevents a second background or extra padding from appearing around your Elementor design.
You can also use a regular Popup Maker theme and let Elementor style only the content inside it. Either approach works; avoid styling the same layer in both places.
Step 1: Create and Save a Popup
From your WordPress dashboard:
- Go to Popup Maker → Add New Popup.
- Enter a descriptive Popup Name. This is the internal name you’ll see in WordPress.
- Add a separate popup title only if you want Popup Maker’s theme to display it. If your Elementor layout contains its own heading, leave the popup title empty to avoid showing two headings.
- Click Save Draft or Publish.
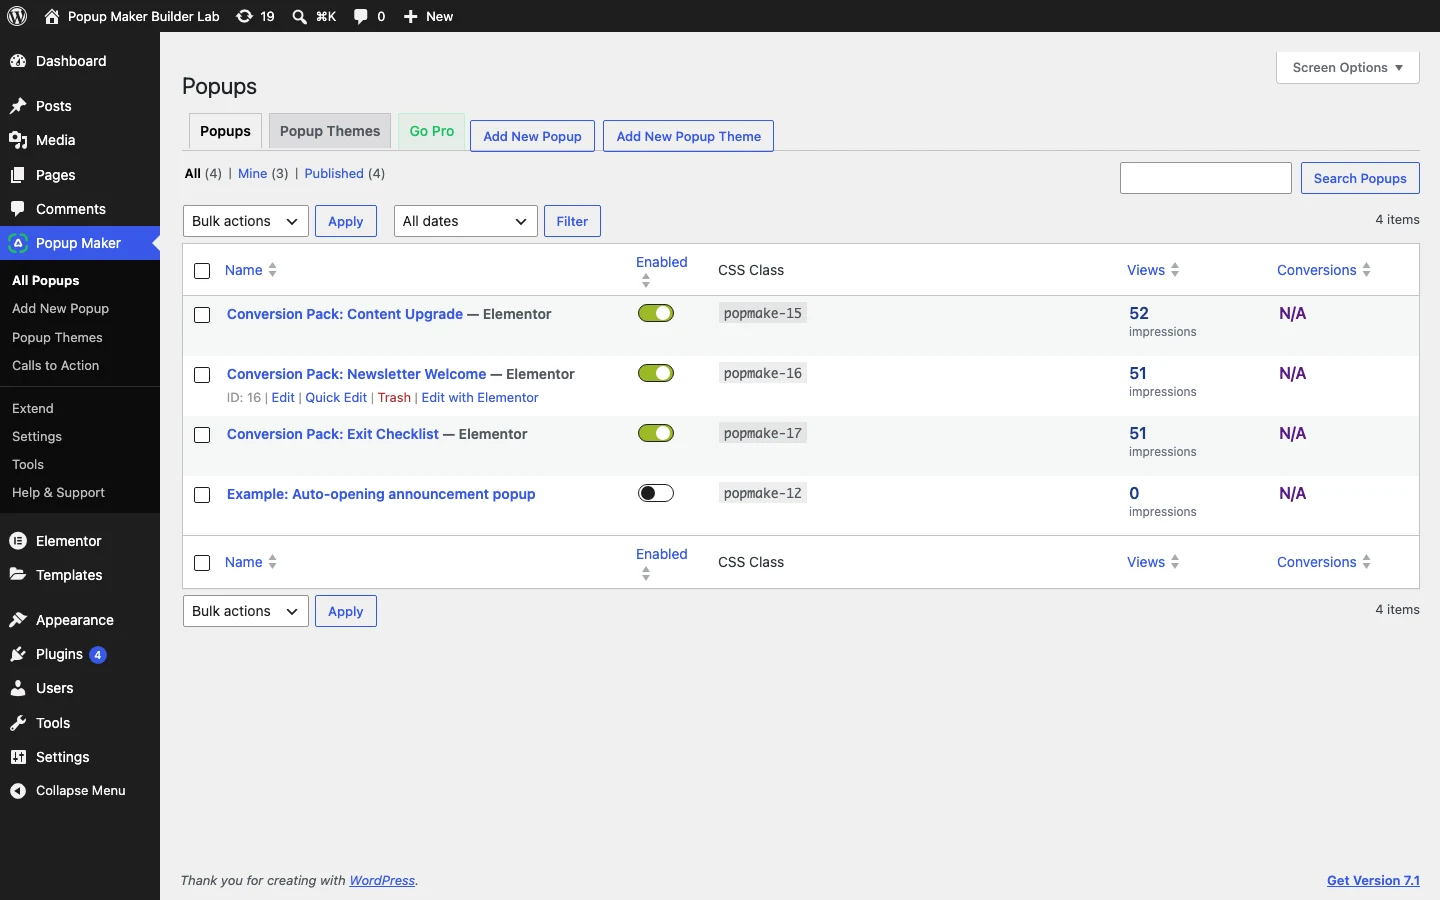
Saving the popup gives Elementor a document it can open and edit.
Tip: Build and test the popup with no automatic trigger at first. This prevents an unfinished popup from opening for visitors while you work.
Step 2: Open the Popup in Elementor
Click Edit with Elementor from the popup editor or the All Popups screen.
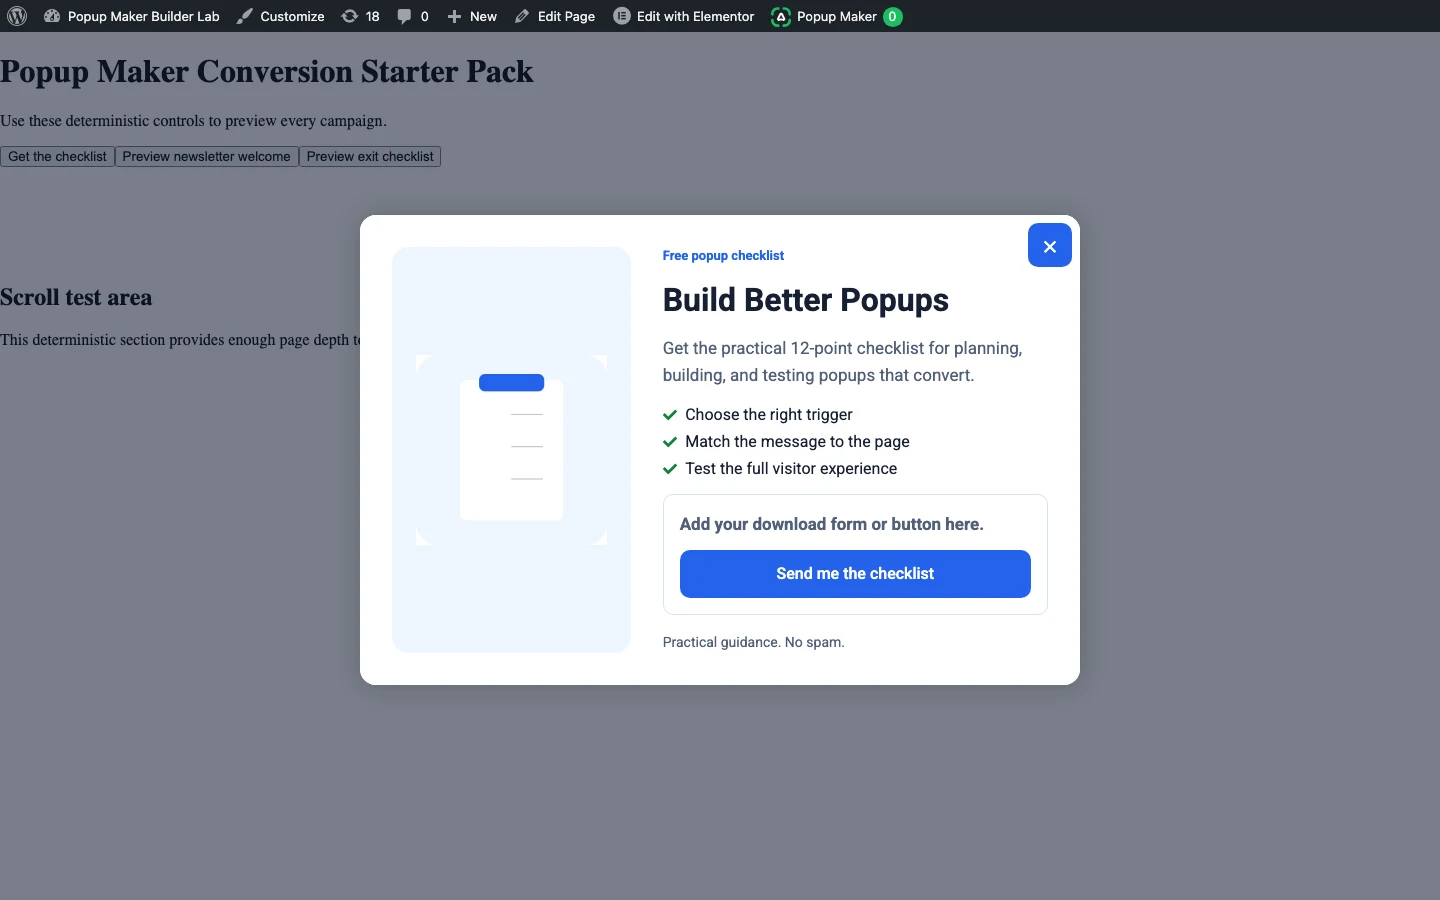
Elementor opens an isolated popup canvas. The canvas includes the active Popup Maker theme, popup container, and close button around your live Elementor content, so its size and spacing are easier to judge while editing.
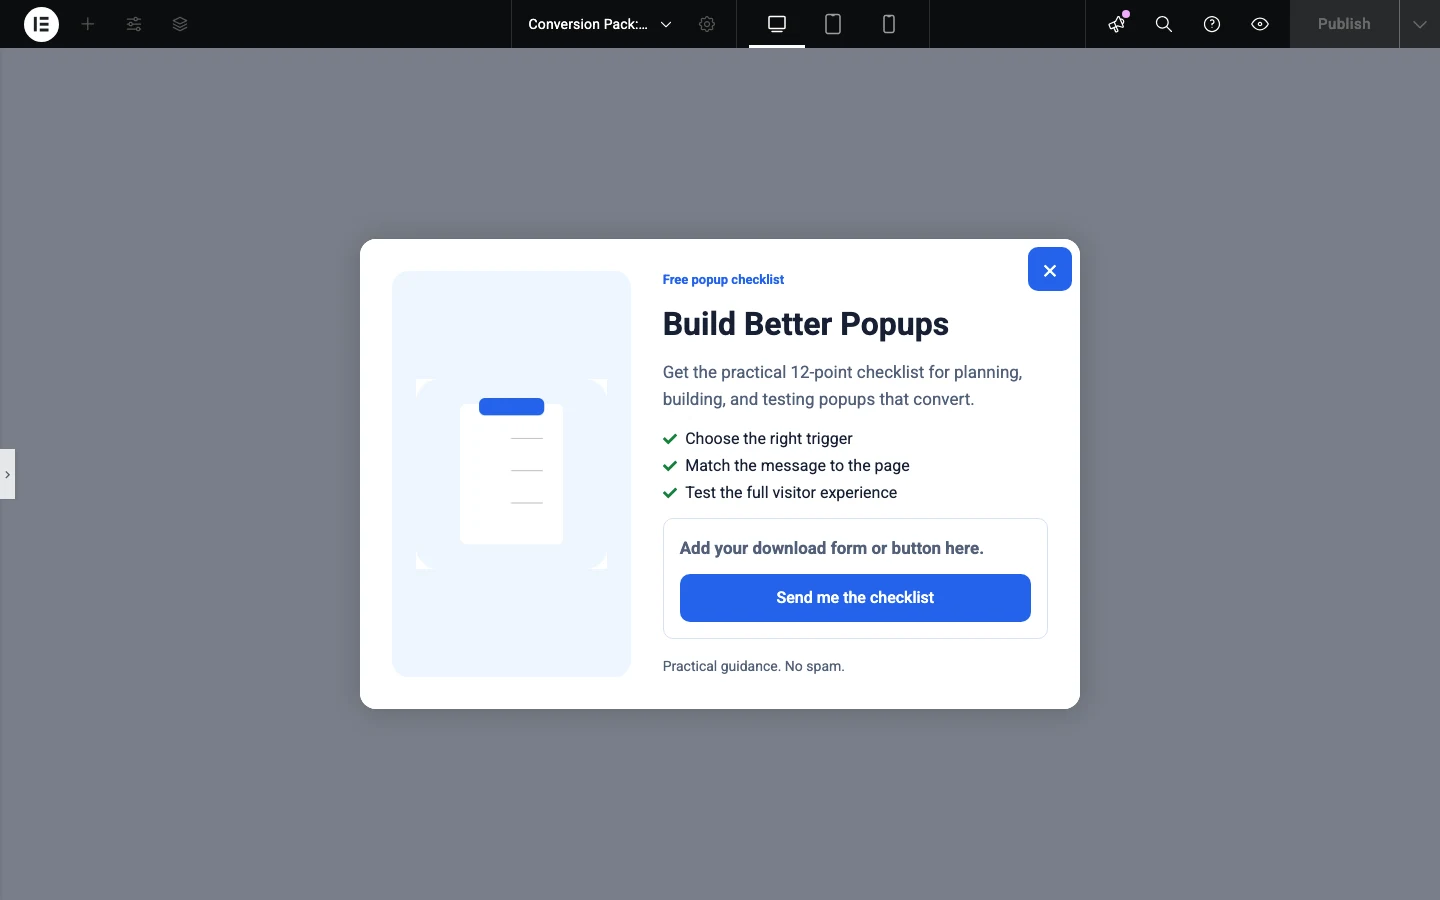
The close button is intentionally disabled inside the editor. It remains visible for accurate placement but cannot accidentally close the editing canvas.
Step 3: Build Your Elementor Popup Content
Add Elementor containers and widgets just as you would on a page.
A strong lead-generation popup usually needs only:
- One clear headline.
- A short explanation of the offer.
- A relevant image or visual.
- A form or primary call-to-action button.
- A small reassurance such as a privacy or “no spam” note.
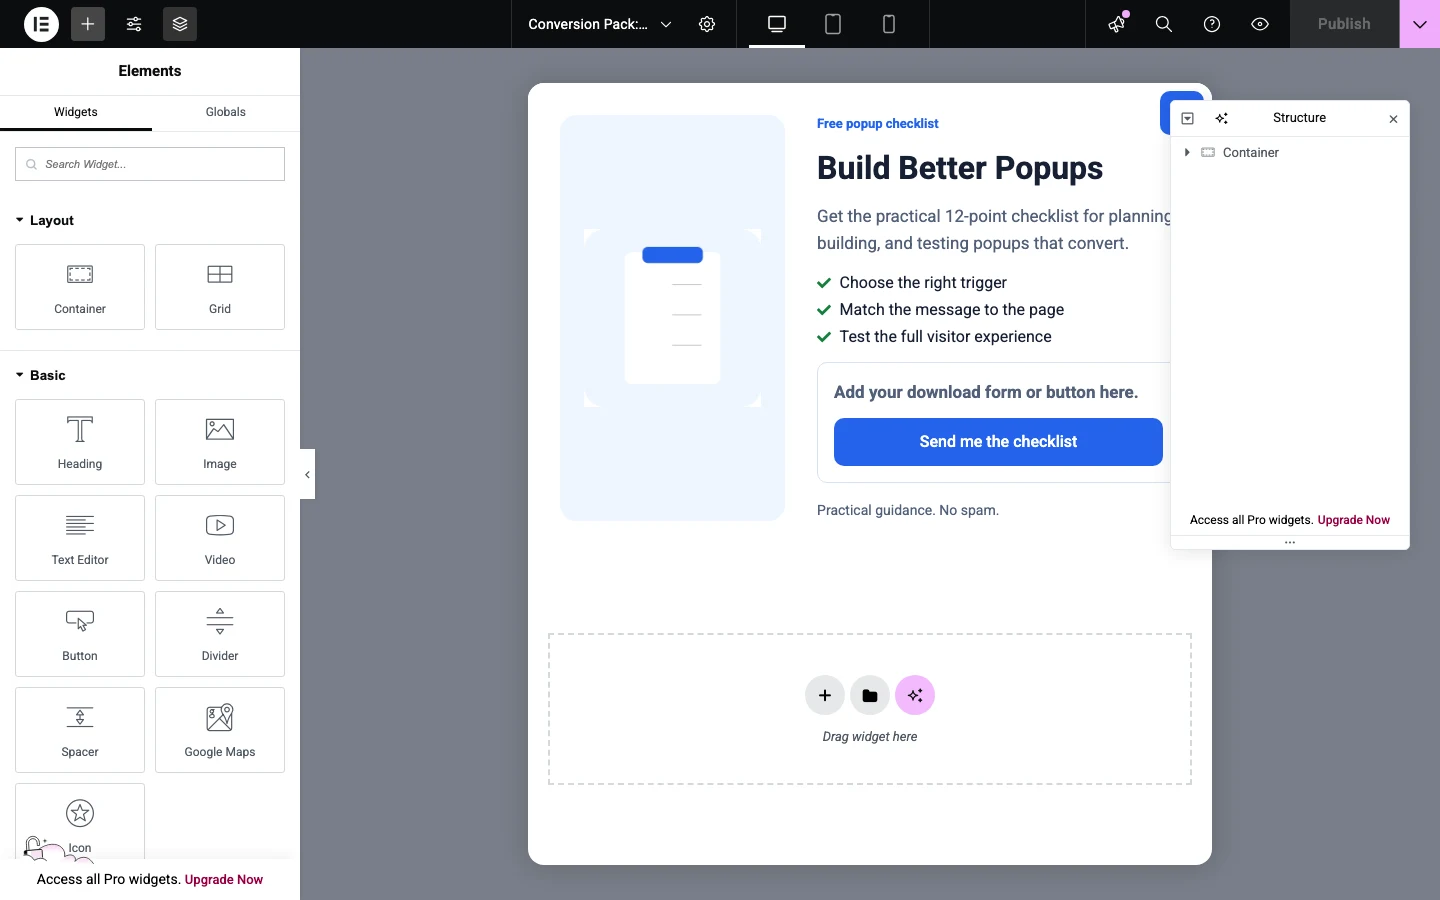
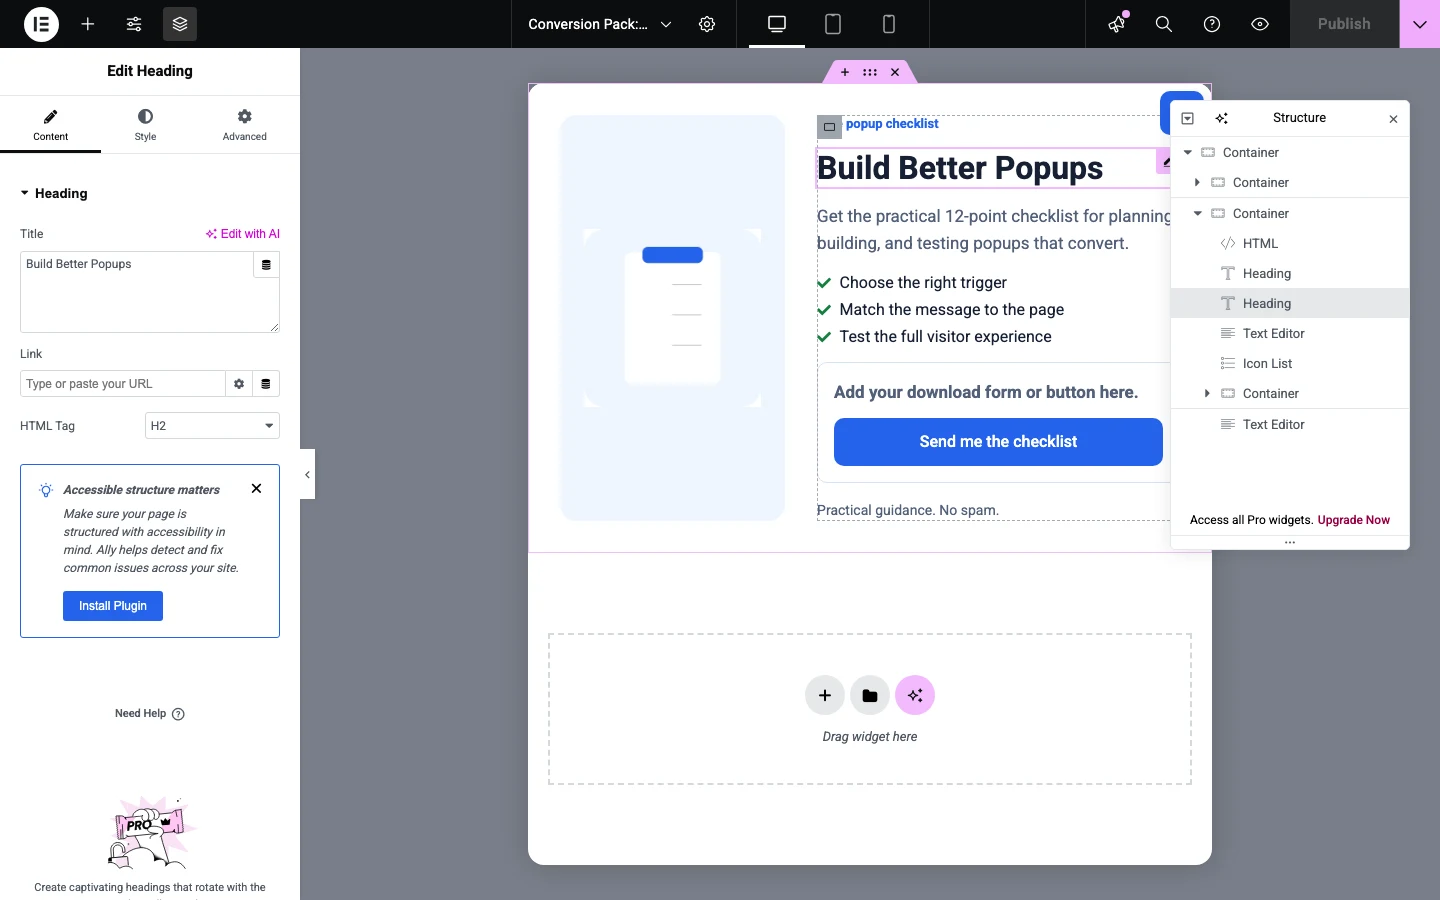
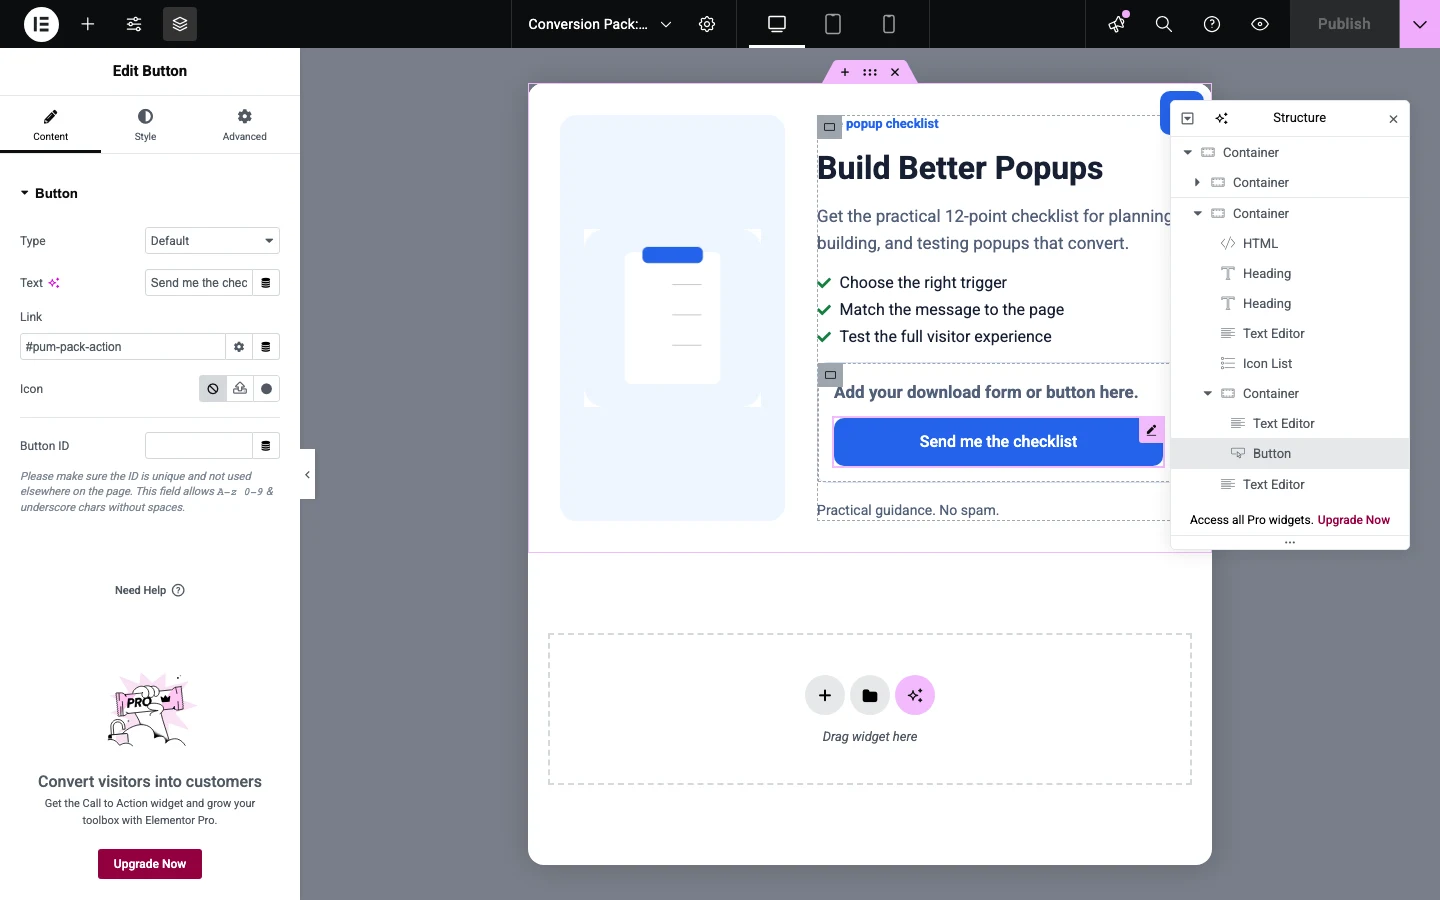
Keep the root Elementor container’s padding intentional. If the Popup Maker theme already provides spacing, use less padding in Elementor. If you’re using the Content Only theme, the Elementor root container should provide the card’s background, padding, rounded corners, and other visible styling.
Responsive Design Tips
Use Elementor’s device controls to review the popup on desktop, tablet, and mobile.
- Stack side-by-side columns vertically on small screens.
- Reduce large headings and generous desktop padding on mobile.
- Keep the primary action visible without excessive scrolling.
- Avoid fixed heights unless the design truly requires one.
- Make buttons and form fields wide enough to tap comfortably.
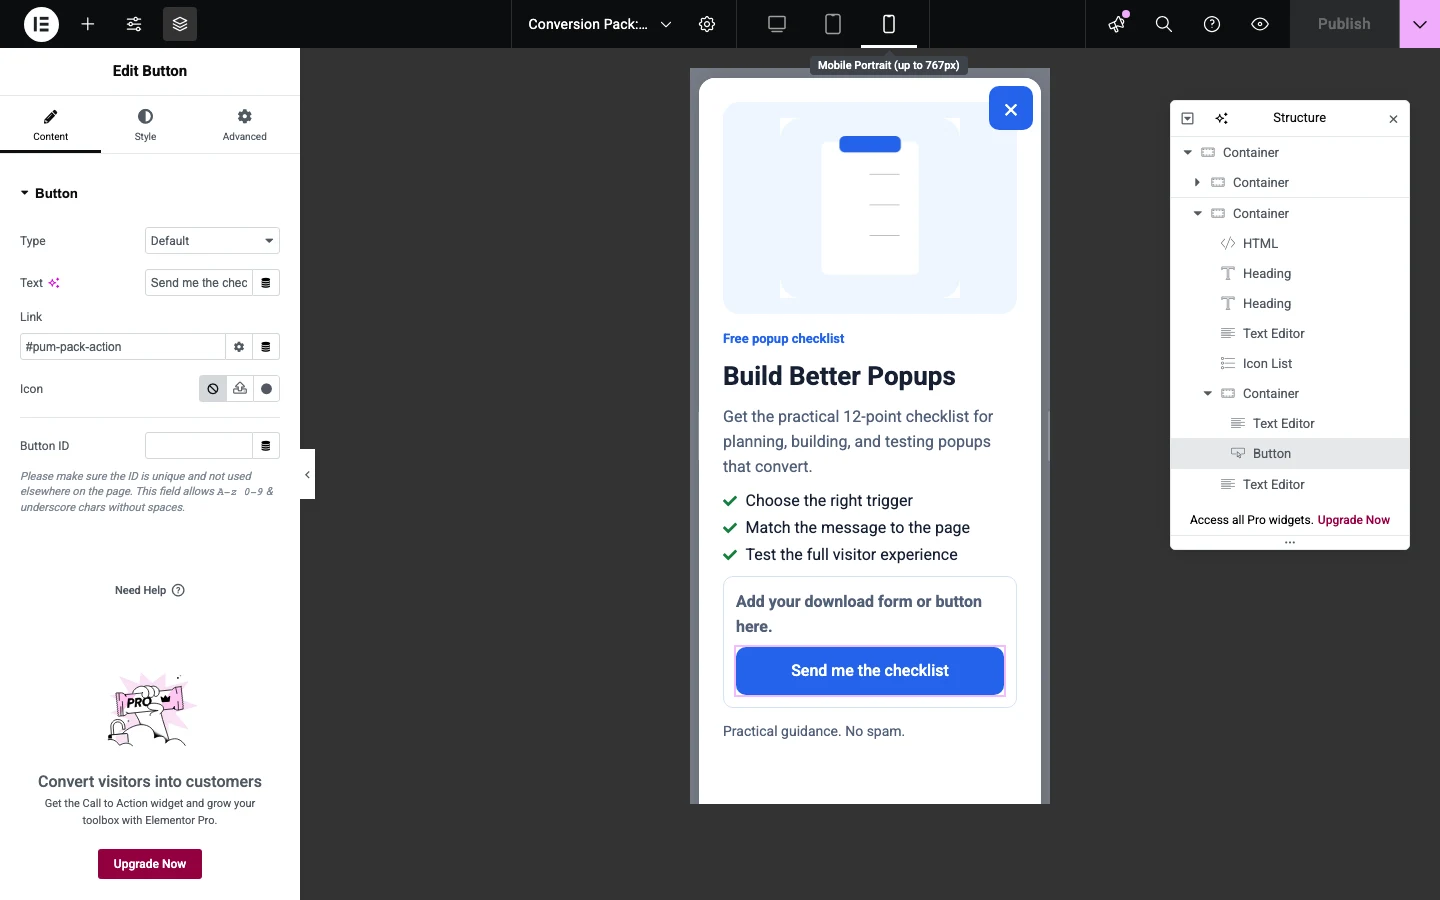
Popup Maker’s width setting limits the overall popup. Elementor’s responsive settings control how the content behaves inside that space.
Step 4: Preview the Complete Elementor Popup
Click Elementor’s Preview Changes button (the eye icon).
The preview opens the popup in its own secure canvas, including:
- The selected Popup Maker theme.
- The popup container and overlay.
- The close button.
- Elementor’s frontend styling.
- Interactive Elementor widgets and scripts.
This is more accurate than judging the content on a normal page because it shows the design in its actual popup context.
Check the preview after making major layout, typography, or responsive changes. Save or publish your Elementor changes before expecting them to appear on the frontend.
Step 5: Configure the Popup in Popup Maker
Return to the WordPress popup editor and use the Popup Settings panel to configure its behavior.
Choose a Popup Theme
Open Display → Appearance → Popup Theme.
- Choose Content Only when Elementor styles the complete popup card.
- Choose another Popup Maker theme when you want Popup Maker to supply the container, padding, border, title, or close-button styling.
Set the Size and Position
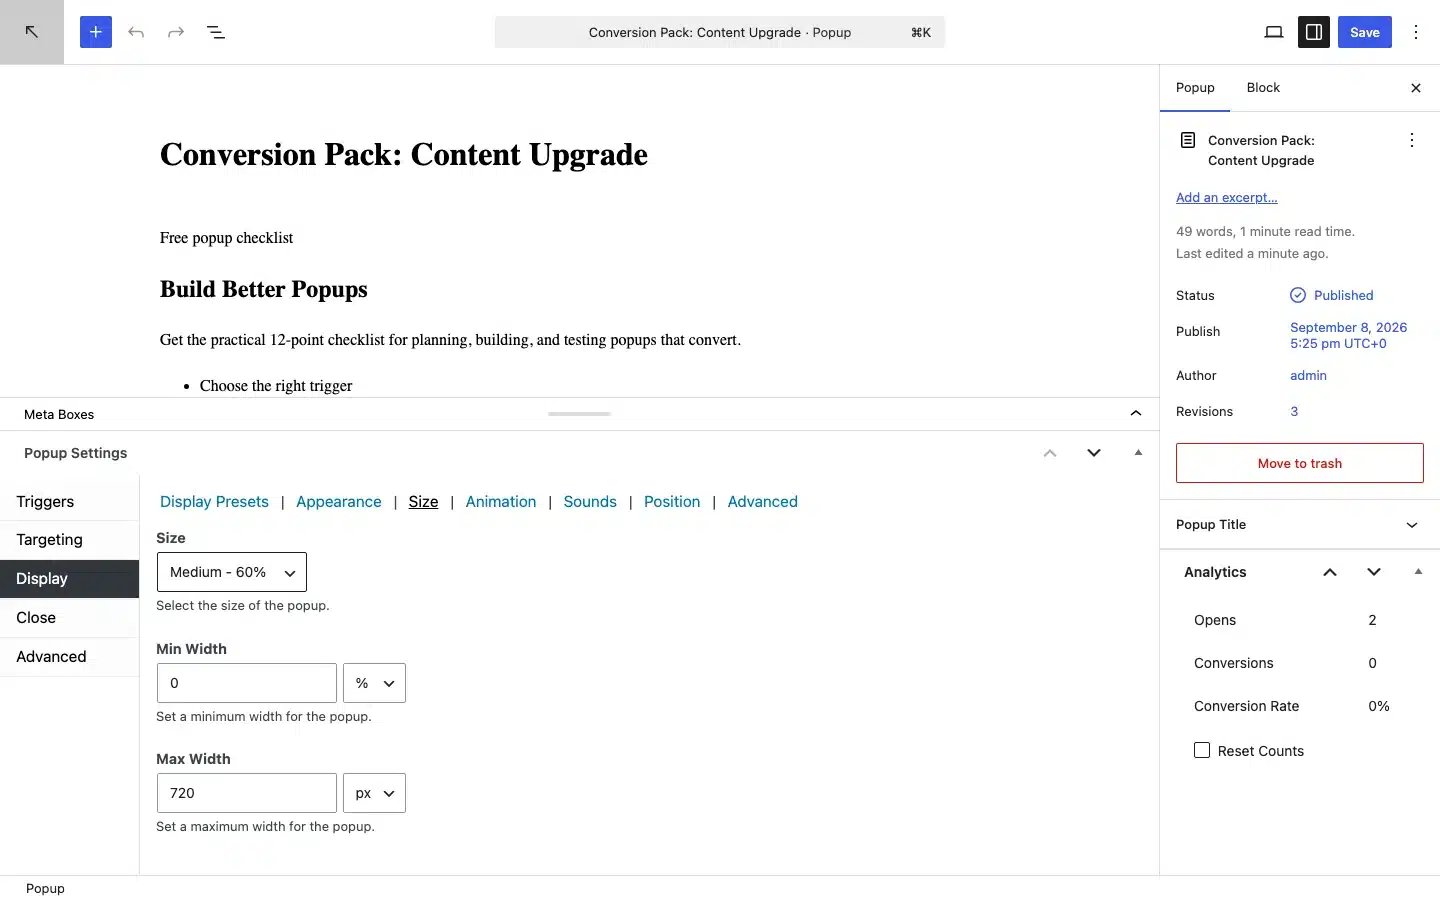
Open Display → Size and Display → Position.
Choose a responsive or custom width that suits the content. The example in this tutorial uses a wider desktop popup so its image and copy can sit side by side, then stacks the content on smaller screens.
Popup Maker calculates the popup’s final screen position. Elementor controls the layout within the resulting content area.
Add a Trigger
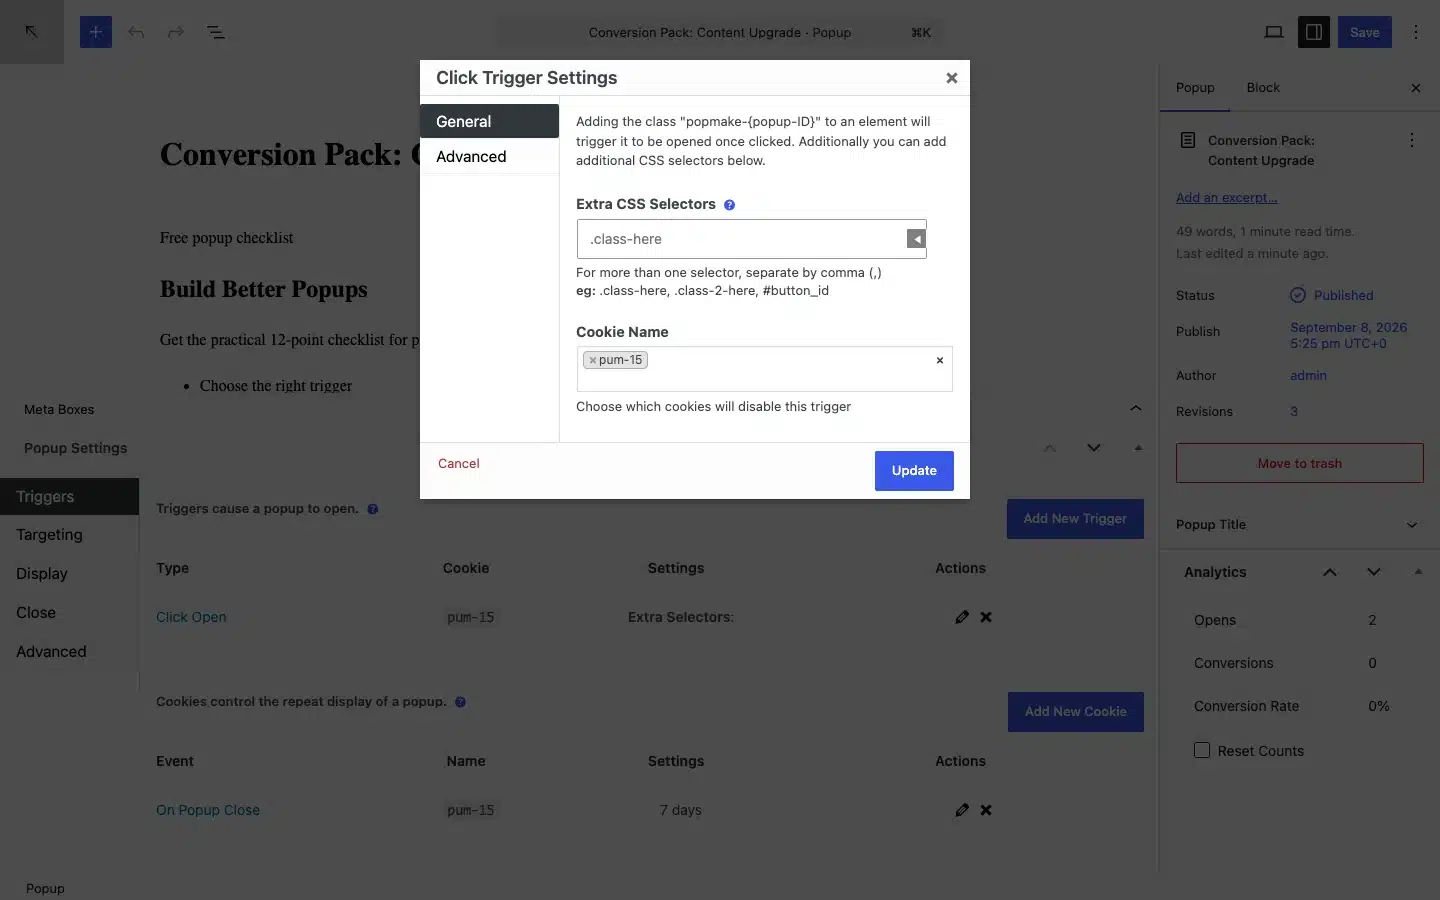
Open Triggers and click Add New Trigger.
Common choices include:
- Click Open: Opens after a visitor clicks a button, link, image, or other element.
- Time Delay / Auto Open: Opens after the visitor has been on the page for a specified amount of time.
- Form Submission: Opens after a supported form is submitted.
Popup Maker Pro: Add behavior-based campaigns with Exit Intent and Scroll Triggers. These complement the click, time-delay, and form-submission options available in the core workflow.
If you want an Elementor button to open the popup, follow our guide to using an Elementor button to trigger a Popup Maker popup.
Add Targeting and Cookies
Targeting determines where and for whom the popup is available. Cookies control how often it can appear again after an event such as opening, closing, or converting.
For example, you could:
- Load the popup only on product pages.
- Open it when a visitor clicks an Elementor button.
- Set a cookie when the visitor closes it.
- Prevent it from appearing again for seven days.
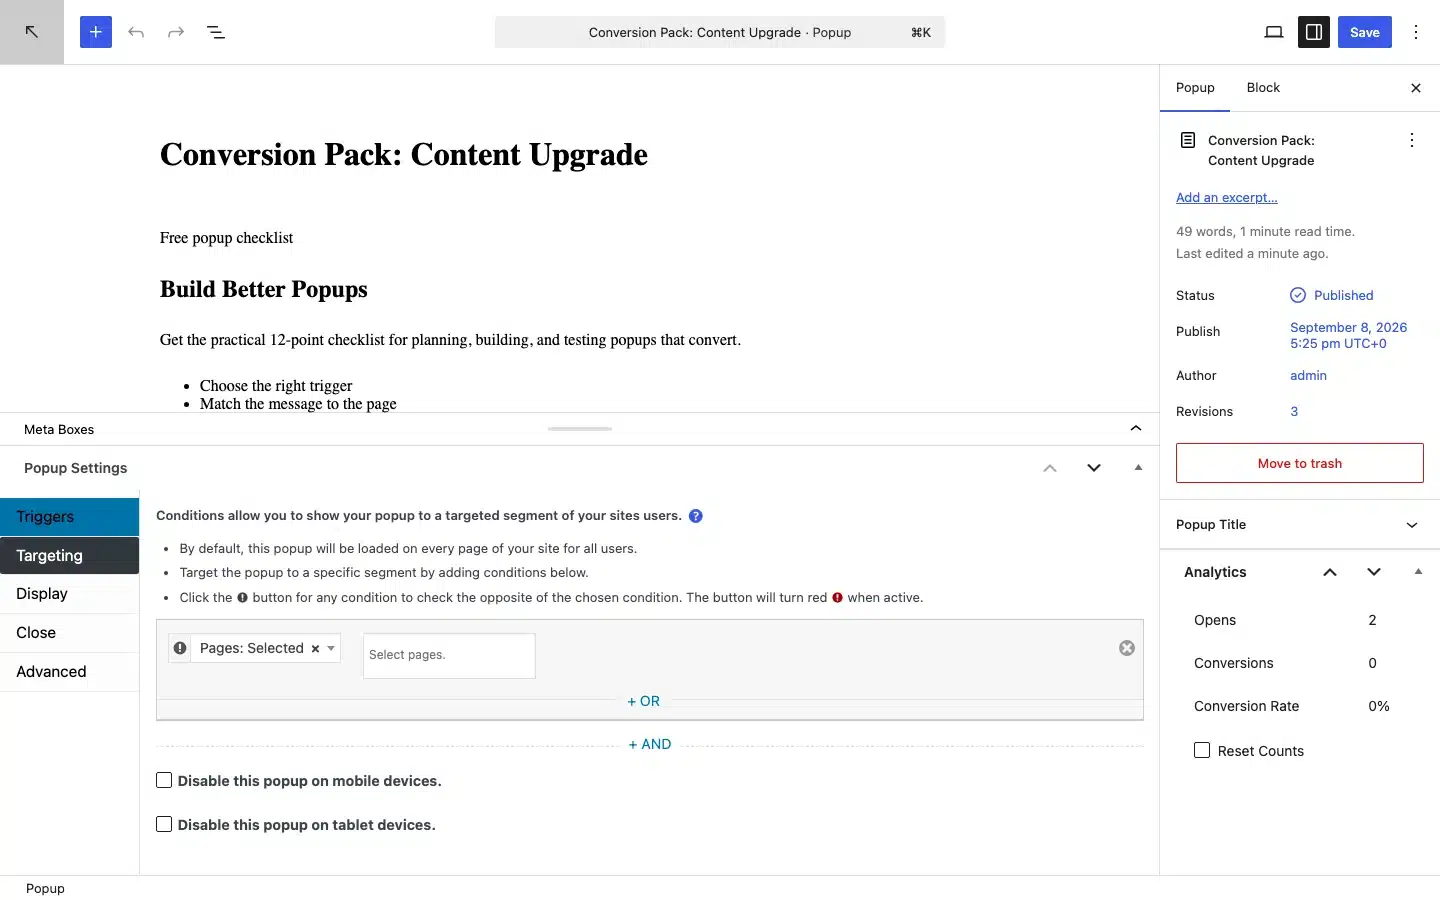
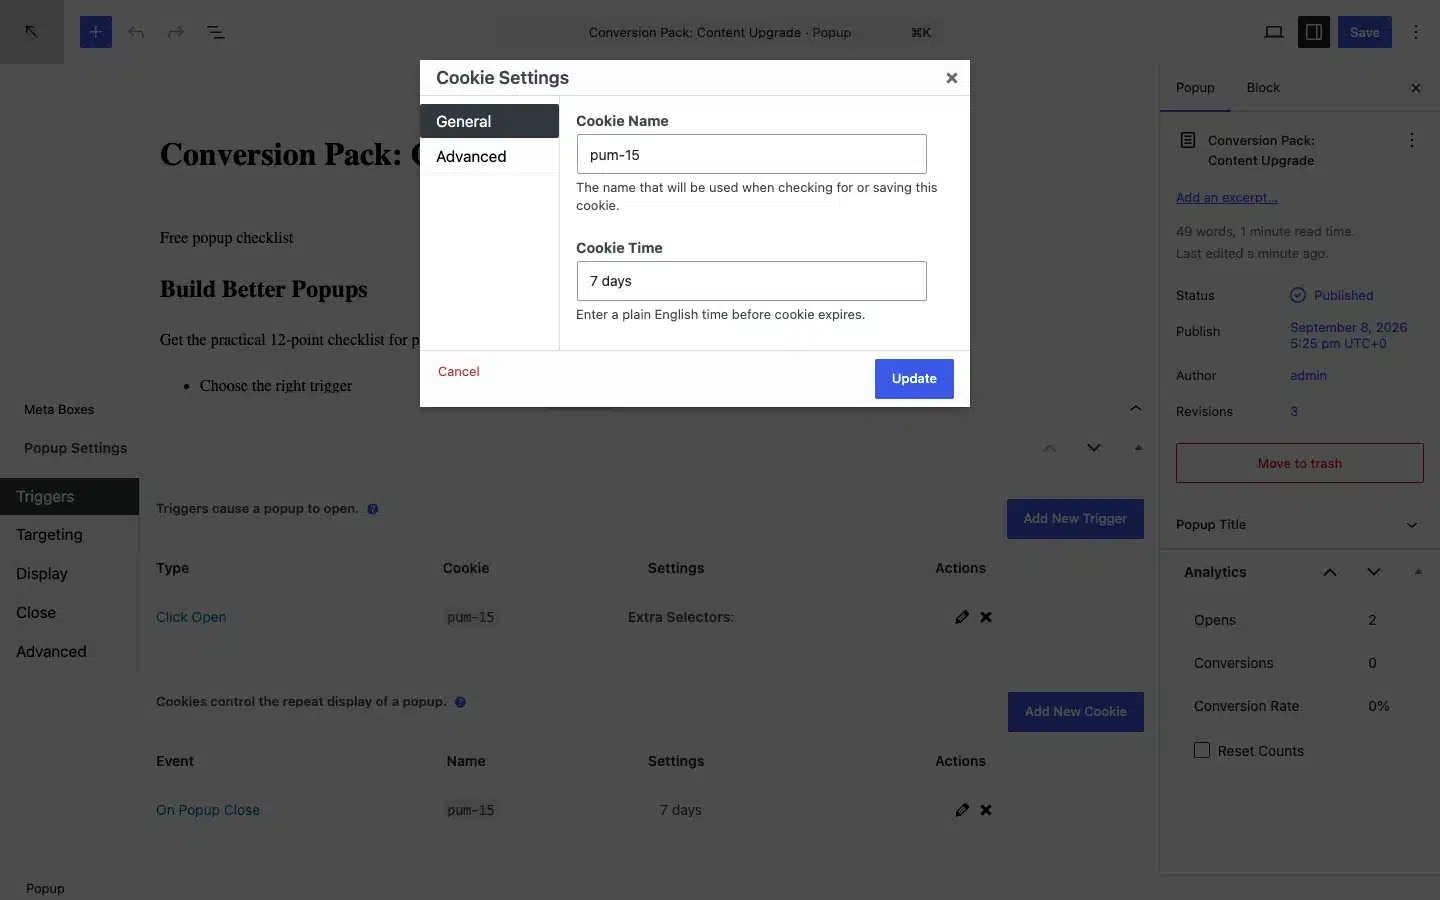
Popup Maker Pro and Pro+: Pro adds advanced targeting such as referral-source and URL rules. Pro+ adds ecommerce conditions and actions based on cart contents, purchase history, and revenue for WooCommerce and Easy Digital Downloads.
Keep targeting as narrow as the campaign allows. This avoids loading popups on pages where they can never open.
Step 6: Test the Frontend Experience
Publish or update the popup, then visit a page where its targeting rules apply.
Test the complete visitor experience—not only the appearance:
- Confirm the trigger opens the correct popup.
- Check the overlay, position, size, animation, and close button.
- Test links, tabs, accordions, carousels, forms, and other interactive widgets.
- Resize the browser and test a real phone when possible.
- Confirm cookies prevent or repeat the popup as intended.
- Test while logged out or in a private window so admin state does not affect the result.
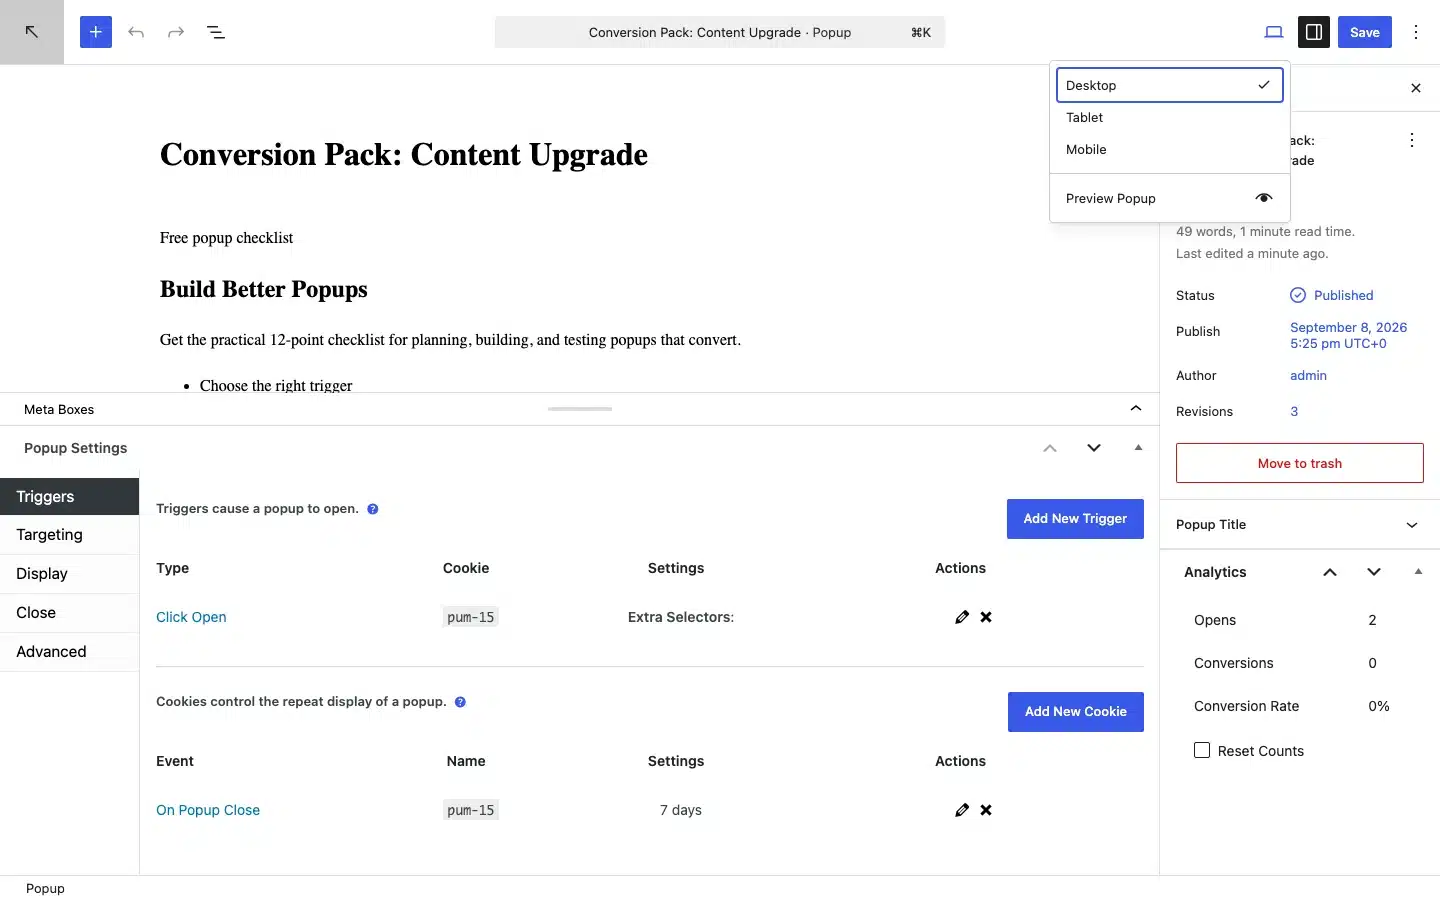
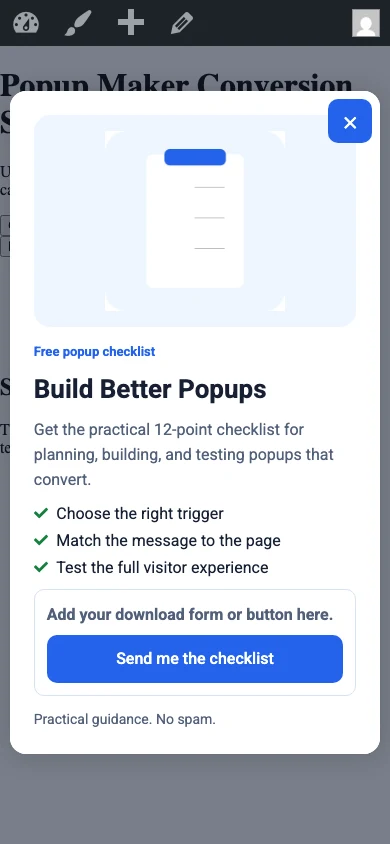
Optimize after launch: Popup Maker Pro analytics helps you compare impressions, conversions, and timing. Use split testing to validate changes to the Elementor design, offer, trigger, or timing with real visitor results.
Elementor can power the main page and the popup design at the same time. Test the finished campaign on the frontend to confirm the page layout, popup content, and interactive widgets all work together.
Build the Content in Elementor. Control the Experience with Popup Maker.
Elementor gives you a familiar visual canvas for the popup’s content. Popup Maker adds the behavior that turns that design into a campaign: triggers, targeting, cookies, positioning, overlays, animations, and close controls.
Once your design is complete, test it as a visitor on both desktop and mobile. If you run into trouble, review our Popup Maker documentation or contact support.
Frequently Asked Questions
Do I need Elementor Pro to build a Popup Maker popup?
No. Elementor Free can design the popup content while Popup Maker supplies the popup container, close button, triggers, cookies, and targeting. Elementor Pro is only required for Elementor Pro widgets or features.
Should I use Elementor Popups or Popup Maker?
Use one popup system for each campaign. Choose Popup Maker when you want its triggers, targeting, cookies, themes, and reporting while continuing to design the inner content with Elementor.
Why does my Elementor popup have double padding or two backgrounds?
Both tools can add backgrounds and spacing. Let Elementor control the content background and inner spacing, then use the Popup Maker theme for the overlay, outer frame, position, and close button.
How do I make an Elementor popup responsive?
Set the Popup Maker container width first, then use Elementor responsive controls to adjust container direction, spacing, text, and visibility. Test the finished popup at desktop, tablet, and mobile widths.
Can I use third-party Elementor widgets in a popup?
Most widgets that follow Elementor’s normal frontend behavior can work, but add-ons may load their own scripts or styles. Test every interactive widget after the popup opens on the frontend.
What does Popup Maker control when Elementor designs the content?
Elementor controls the inner layout and widgets. Popup Maker controls the surrounding theme, overlay, close button, size, position, opening triggers, targeting conditions, cookies, and available analytics.