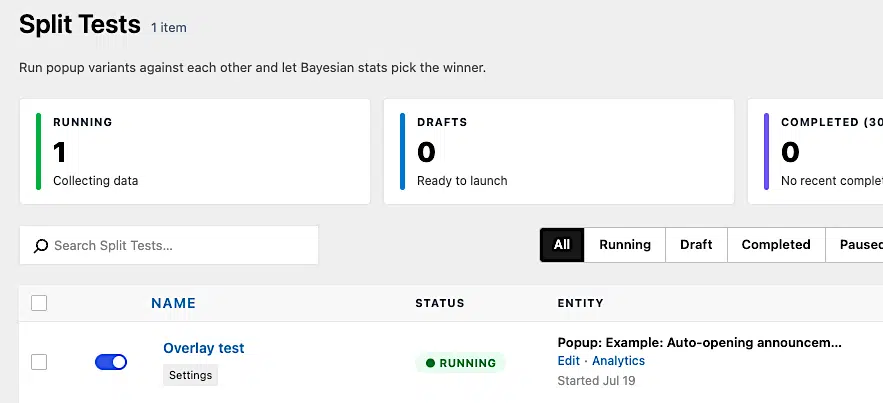
This guide shows you step-by-step how to use Popup Maker Pro’s built-in Split Test feature to create a Settings split test.
- Create and Start the Settings Split Test in the Block Editor
- 1. Edit your popup using the block editor
- 2. Click Split Testing
- 3. Click Create Split Test
- 4. Click Settings
- 5. Click Next—Variants
- 6. Name Variant A
- 7. Name Variant B
- 8. Click Pick a setting to override
- 9. Select the popup setting you want to test from the dropdown
- 10. Specify your override setting
- 11. Click Next—Document
- 12. Type a descriptive name
- 13. Click Create & Start Test
- 14. View your test's latest stats
Create and Start the Settings Split Test in the Block Editor
There are over 40 core Popup Maker popup settings. We can’t cover them all in this how-to guide, so we’ll create a split test using the Display > Advanced > Disable Overlay setting as an example.
1. Edit your popup using the block editor
2. Click Split Testing
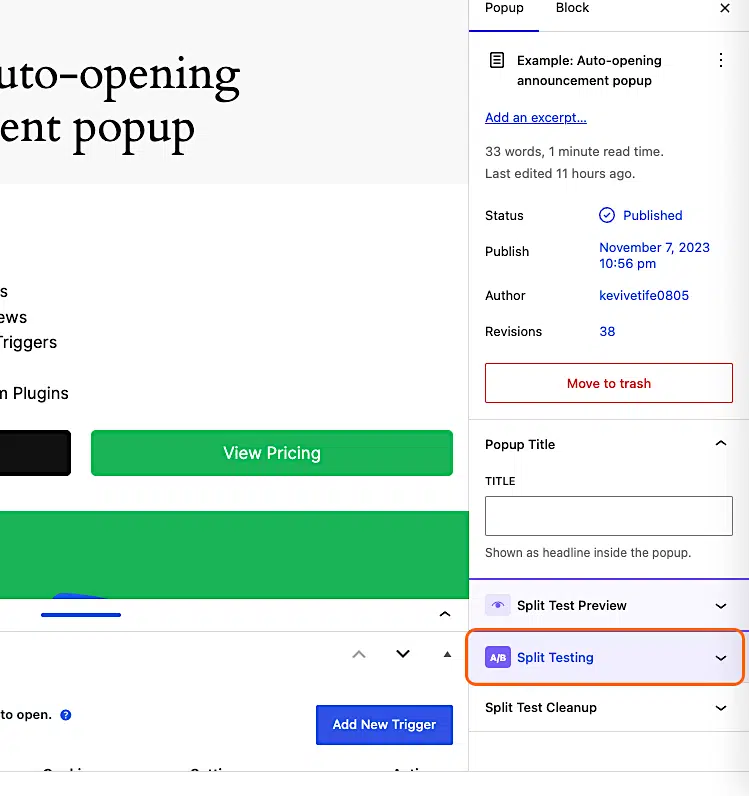
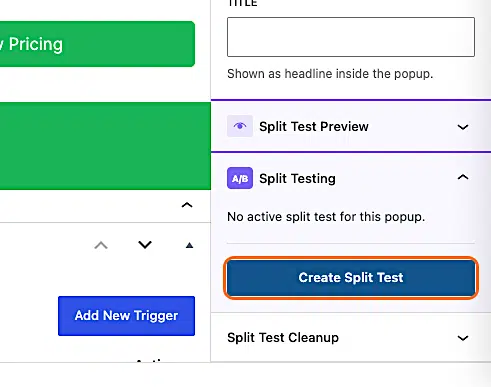
3. Click Create Split Test
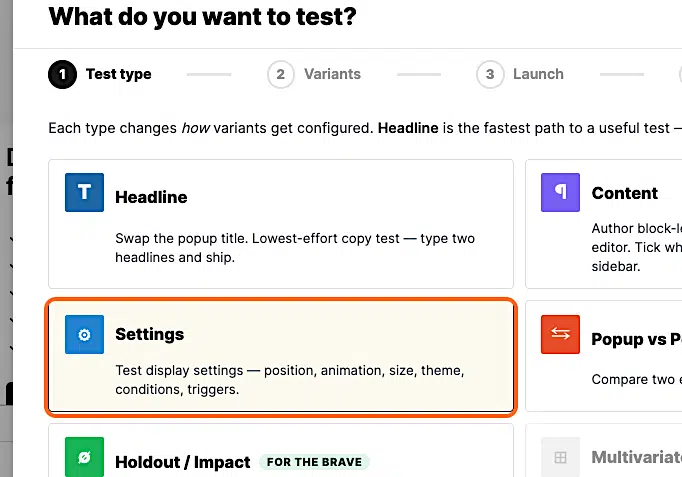
4. Click Settings
5. Click Next—Variants
Note: You can add more than 2 variants. To keep this guide simple, we’re only using 2 variants.
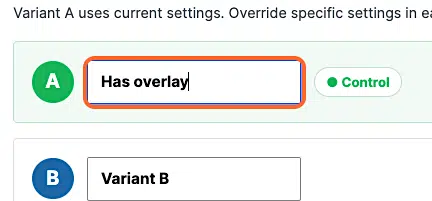
6. Name Variant A
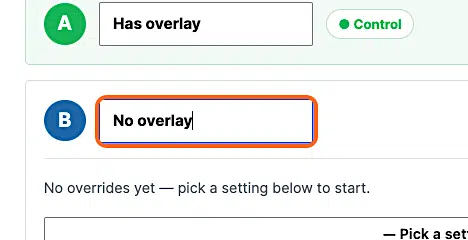
7. Name Variant B
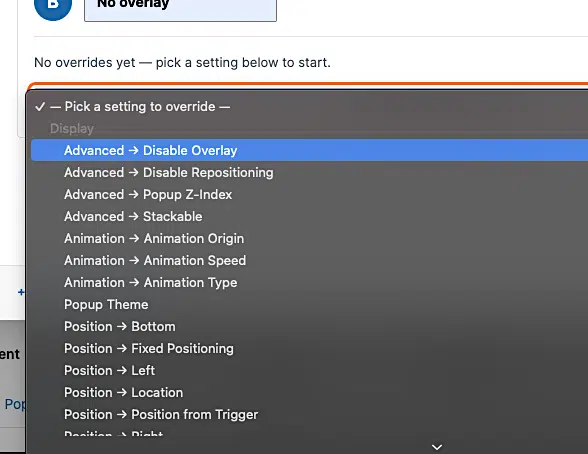
8. Click Pick a setting to override
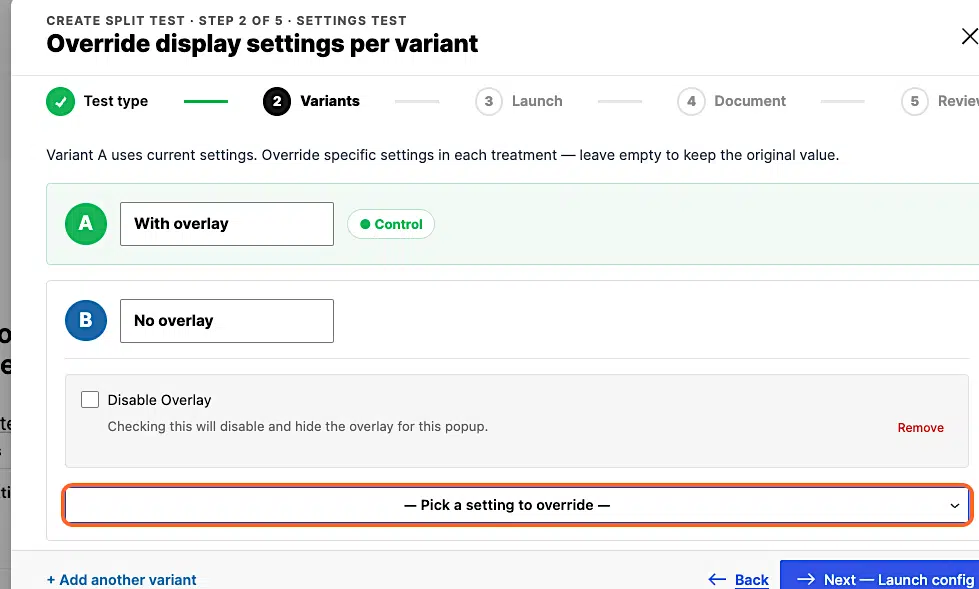
9. Select the popup setting you want to test from the dropdown
In our example, we choose Display > Advanced > Disable Overlay.
10. Specify your override setting
In our case, we check the Disable Overlay setting in our Variant B (No overlay) variant.
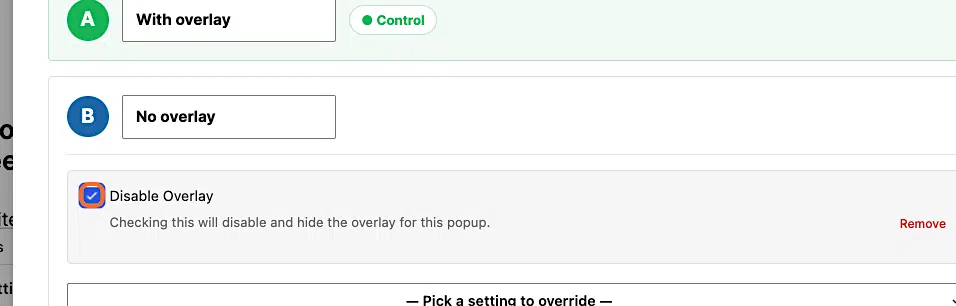
After you name your variants and choose their overrides, click Next—Launch config.
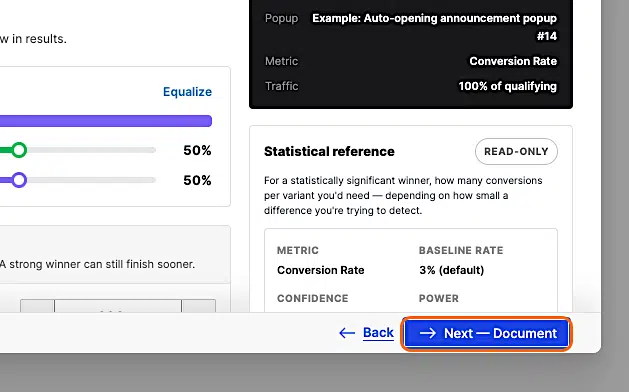
11. Click Next—Document
To keep things simple, we’re going to accept all defaults here in the Launch step. Read our Split Test Cheat Sheet to learn more about the Launch settings.
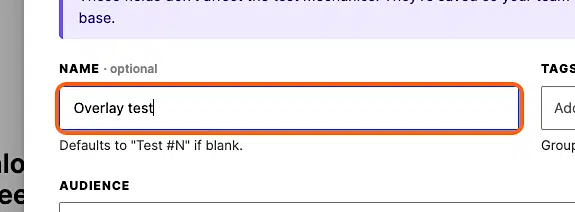
12. Type a descriptive name
Enter an optional name for your test. Then, click Next—Review.
13. Click Create & Start Test

14. View your test’s latest stats
Head over to Popup Maker > Split Tests to view your test stats.